Last updated: September 10, 2026
Key Takeaways
- Planning a very long run? An island over 10 feet long will show movement and alignment more clearly.
- A typical outdoor kitchen should sit on a slab or other engineered base, not on loose pavers alone.
- Standard drywall framing logic does not belong in an exposed outdoor kitchen.
- Small outdoor kitchens, rooftop kitchens, and kitchens under pergolas often need modified framing details, not a different concept.
Choosing how to frame an outdoor kitchen is not really about asking which material is “strongest.” Wrong question. The better test is simpler: which framing method fits your climate, finish material, budget, and the weight of the appliances you are building around? For outdoor kitchen framing, I would treat wood, metal, and masonry as three different tools, not three versions of the same thing; and, to be fair, I’d still check the local code or talk to a professional before deciding.
Who this is for, and what I’m assuming you already know
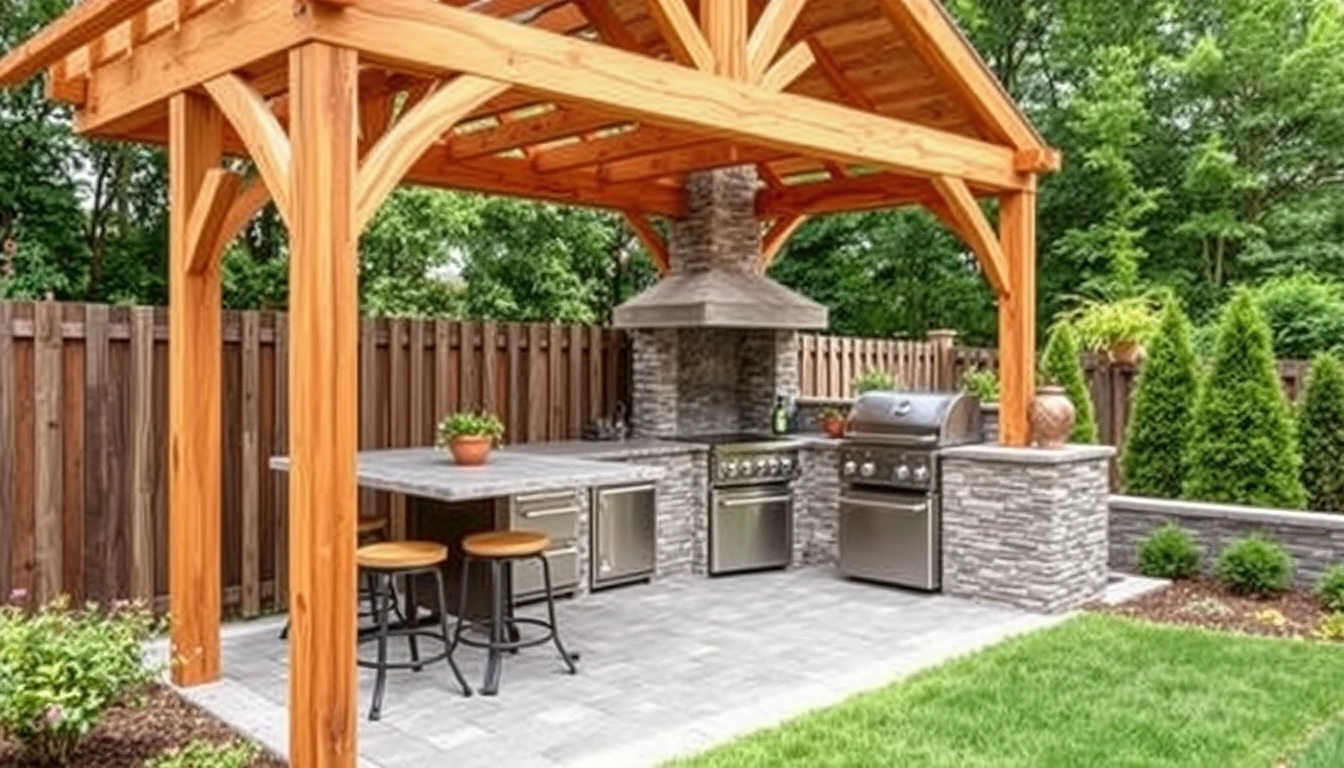
This is for someone planning a fixed outdoor kitchen under a roof, a pergola, or in open air, and who already has the rough layout in mind: grill, sink, storage, maybe a side burner or refrigerator. Framing here means the structural skeleton behind the finished exterior, not the countertop or the appliance trim.
Local code matters, too. Outdoor kitchens that carry a built-in grill, a stone veneer, a concrete countertop, or a gas appliance often need the same basic checks as any other small structure: clearances to combustibles, noncombustible surrounds where the appliance manufacturer requires them, and a base that can carry real weight. The International Residential Code and appliance manuals are the right starting points, and a local builder or inspector should confirm the details. If the kitchen will support a heavy masonry finish, a large concrete counter, or sits on questionable soil, the framing choice is not a cosmetic call.
My position is plain: wood framing is the most forgiving for moderate builds, metal framing is the cleanest answer when moisture and precision matter, and masonry is the right choice when the kitchen is meant to feel permanent and carry heavy finishes. None of the three is wrong by default. The wrong pick is the one that ignores span, moisture, and finish load. Simple as that.
This is not the place for a small grill cart. A cart, a freestanding cooker, or a temporary island wants a different solution. A framed outdoor kitchen makes sense when the structure is meant to stay put for years and be finished with stone, stucco, tile, fiber-cement, or a similar cladding.
Which outdoor kitchen frame material makes the most sense?
Pick the frame material that can carry your finish, survive your weather, and stay serviceable after the first repair. Then check that choice against the appliance spec and local code. Wood is easiest to build, metal is easiest to keep straight, and masonry is hardest to move but strongest in feel and mass.
Wood framing usually means pressure-treated lumber or exterior-rated framing lumber built much like a deck wall or small shed wall. Carpenters know the method. On many simple builds, it is the fastest route to a custom shape, though a qualified builder should confirm the layout and exposure. The trade-off is water. Even treated lumber can swell, twist, or decay where fastener holes, joints, and cut ends stay damp, so a builder should detail drainage, cap flashing, and a finish that keeps standing water away from the structure. Water is the sneaky one.
Metal framing usually means galvanized steel studs, tube steel, or a prefabricated aluminum system. “Galvanized” means zinc-coated for corrosion resistance. Metal wins where straightness matters and where the base may see repeated moisture. It also works well under cement board and stone veneer because the frame stays dimensionally stable. The trade-off is detail work. Bad cuts, unprotected fastener holes, or mixed metals can invite corrosion. A kitchen built with thin, light-gauge metal that is underbuilt for a granite counter or a masonry facade will telegraph every mistake.
Masonry framing usually means concrete block, brick, or a poured concrete base that forms the structure itself or a structural shell. It is the heaviest and least forgiving option, but it carries load well and suits permanent installations. I would choose masonry when the island will support a thick stone counter, a large grill enclosure, and a finish meant to look like architecture rather than furniture. The downside is cost in labor, weight on the slab, and difficulty of modification. Once a masonry frame is in place, changing appliance locations or adding access is slower and messier than with wood or metal. Brutal, but true.
A quick rule helps. If the project needs flexibility and moderate cost, wood is usually the first draft. If it needs moisture resistance and a crisp, straight substrate, metal often wins. If it needs mass, fire-safe feel, and permanence, masonry belongs in the conversation. According to the International Code Council, exterior assemblies and manufacturer clearances should still govern the final choice.
How do I choose between wood, metal, and masonry for an outdoor kitchen?
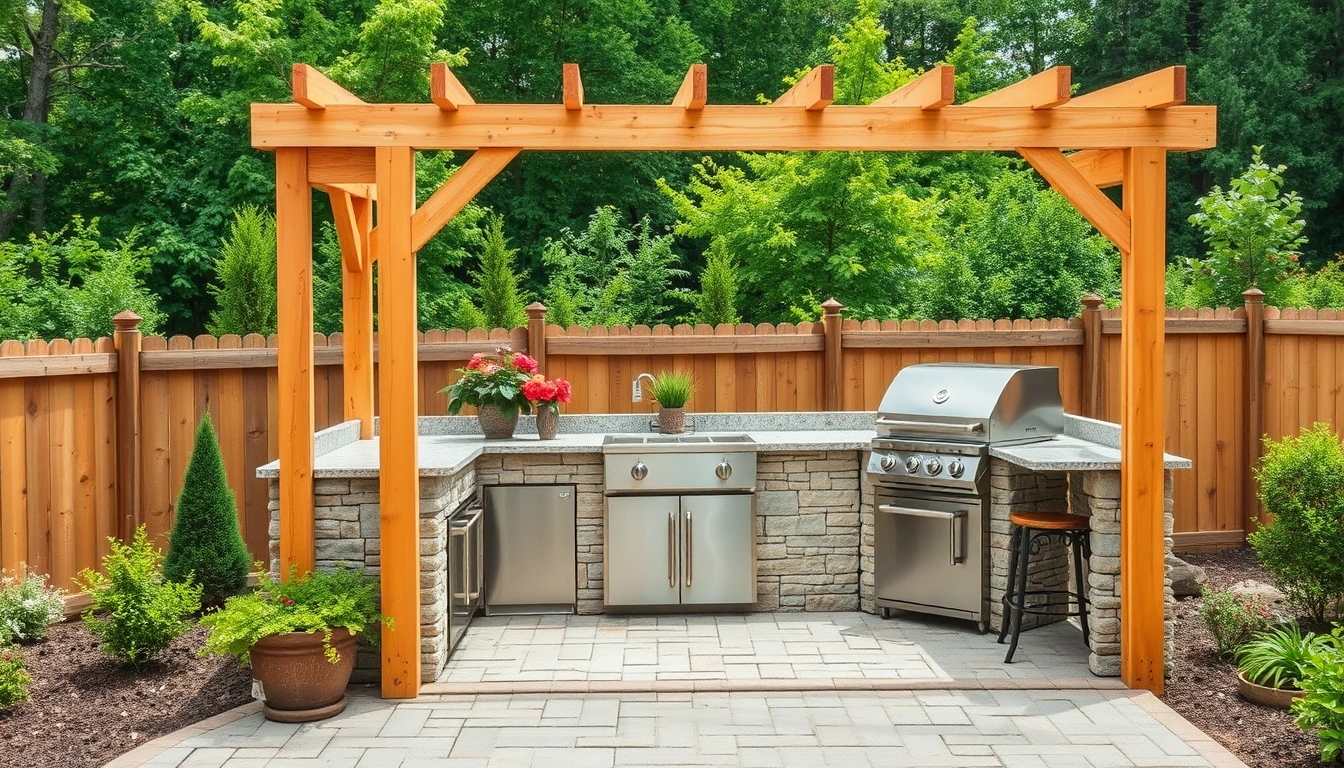
Start with the heaviest thing the frame must hold, then work backward from weather and finish. The counter and appliance weight matter more than the cabinet doors do. A grill cutout, a concrete countertop, a stone veneer, and a sink cabinet all place different demands on the frame.
Begin with the support surface. A typical outdoor kitchen should sit on a slab or other engineered base, not on loose pavers alone. If the base is a 4-inch concrete slab in good condition, wood or metal framing can sit on it cleanly with proper fastening and isolation from moisture. If the plan includes masonry block, that slab needs to be capable of taking the added dead load, which is the permanent weight of the structure itself. Dead load is what sits there all the time; live load is what people and objects add temporarily.
Then match frame to finish. Heavy stone veneer, concrete countertops, and large-format porcelain usually point away from light wood framing unless the structure is carefully reinforced. Cement board and stucco sit naturally on metal or wood, but they are only as good as the substrate beneath them. Brick veneer over a weak frame is asking for cracking at the joints, especially where temperature swings are large. Industry guidance from NCMA and IRC references support that weight and fastening should be matched to the substrate.
Climate should also steer you. In coastal air, salt and moisture make corrosion resistance a real issue, so I prefer aluminum or well-detailed galvanized steel over bare steel or marginally protected wood. In freeze-thaw regions, masonry needs control joints and a base that can move a little without cracking. In very dry climates, wood can survive well, but only if it is kept off grade and away from standing water. ASHRAE and regional building guides are useful here, and local detail requirements can be stricter than general advice.
Aesthetics matter, but I would treat them as the last filter; and I would still ask a professional to check the load path before you pick a finish. A kitchen that looks “right” but traps water or sags under a counter is a bad build with a pretty face. The frame should serve the finish, not the other way around.
Building the frame: the sequence that avoids expensive rework
Build from the ground up. Check load, moisture, and service access at every step. The most common failure is not the wrong material; it is the wrong order.
- Lay out the island footprint on the slab, then mark appliance rough openings to the manufacturer’s cut sheet. Keep at least the clearances the appliance manual requires, and check that doors, drawers, and gas shutoff access have room. If the layout forces a grill too close to a wall or leaves no service access, the design is wrong before a board is cut.
- Establish the base as level within about 1/8 inch over a short run and isolate it from standing water. Use shims, leveling mortar, or a corrected slab surface as needed. Verify that water cannot pool under the frame. If the frame will sit in water after rain, wood rots faster and metal corrodes faster.
- Choose the frame type and size members for the finish load. For wood, use exterior-rated or pressure-treated members where they contact masonry or concrete; for metal, use galvanized steel or aluminum rated for exterior use; for masonry, use structural block or properly reinforced concrete. Verify the frame can carry the countertop and cladding without bounce or twist. Sag at the countertop line is a warning sign.
- Build the primary skeleton square and plumb, then brace it before adding sheathing. Square means equal diagonals; plumb means vertical. A 1/4-inch out of square at the base can show up as a bad countertop fit. If corners drift while fastening, stop and reset them.
- Add blocking and backing where the grill, sink, refrigerator, and access doors will mount. Blocking is the solid support behind a fastener point. Put it where hinges, drawer slides, and trim screws need bite. If fasteners would land in empty cavity space, the design needs more backing.
- Install exterior sheathing or substrate suited to the finish, such as cement board, fiber-cement panels, or masonry tie points. Follow the thickness and fastener pattern the cladding system expects. Verify the surface is continuous and fasteners do not protrude where they could telegraph through finish materials. Crushed board edges or loose panels mean the fastening pattern is wrong.
- Detail moisture control before finishes go on. Use flashing at tops, water-resistant barriers where appropriate, and sealed cut ends on wood. On metal, protect cut edges and isolate dissimilar metals. On masonry, keep joints full and avoid paths where water can enter and sit. Any hidden cavity should have a way to dry, or it becomes a trap.
- Dry-fit the countertop and appliance trim, then confirm service clearances one more time. Check that propane or natural gas lines, electrical conduits, and plumbing routes remain accessible. If you have to force a hose, kink a line, or remove a finished panel to reach a shutoff, the framing is not serviceable enough.
That sequence matters because the expensive mistakes happen before finish work hides them. A level, square, moisture-aware frame is easier to skin than a crooked one, whether the skeleton is wood, metal, or block. The IRC and appliance manuals also make clear that clearances are not optional.
What do people get wrong with outdoor kitchen framing?
They usually underestimate water, weight, or movement. Each one has a cost. The frame type matters less than the detail work around it.
One common mistake is using interior framing habits outside. Standard drywall framing logic does not belong in an exposed outdoor kitchen. The consequence is swelling, rust, or soft spots in less than a few seasons of weather. Better choices are exterior-rated lumber, galvanized or aluminum framing, and finishes meant for wet service.
Another mistake is building on an uneven or poorly drained base. Even a strong frame will rack, meaning it will shift out of square, if the support below it settles unevenly. The result is cracked tile lines, sticking doors, and gaps at the countertop. Fix the base first. Don’t shim every symptom later.
A third mistake is treating all finishes as equal. A lightweight stucco skin does not ask for the same support as a full stone veneer. If the finish load exceeds what the frame can hold, you get sagging, fastener failure, or cracked joints. The alternative is to size the structure for the heaviest finish you might actually install.
A fourth mistake is ignoring thermal movement. Metal expands and contracts more predictably than masonry, but it still moves. Masonry moves less, but it cracks when restrained. Wood moves with humidity. If the design pins every part rigidly, the first hot week or cold snap can show hairline cracks or popped seams. Use joints, gaps, and fasteners that allow the chosen material to behave normally. Otherwise, the frame starts arguing with itself.
A fifth mistake is poor access planning. Outdoor kitchens fail in annoying ways: a sink trap behind a fixed panel, a gas valve behind a stone face, a refrigerator that cannot breathe because the enclosure is too tight. The consequence is a kitchen that looks finished but is miserable to service. The fix is to leave removable access panels, proper ventilation clearances, and enough depth behind the face material. USDA and appliance manufacturers both stress service access for enclosed equipment.
When should I stop and choose a different framing method?
Stop and switch methods when the frame you want cannot safely carry the finish, tolerate the site, or support service access. That is the right moment to redesign, not force the material.
The kitchen will carry a heavy stone countertop or full masonry veneer: the dead load may overwhelm light wood framing — move to reinforced metal or masonry, or redesign the finish to be lighter.
The site is exposed to frequent splash, coastal air, or poor drainage: moisture will attack cut ends, joints, and fasteners — prefer galvanized steel, aluminum, or masonry with careful moisture detailing.
You need frequent future changes to appliance size or layout: a fixed masonry shell will make revisions slow and costly — choose wood or metal with accessible backing and removable panels.
The slab is cracked, uneven, or not designed for the added weight: the structure may settle or rack — repair or replace the base before framing, because no frame material can compensate for a failing foundation.
The grill or appliance manual requires noncombustible surrounds or specific clearances: the framing must obey the manufacturer’s instructions — use the specified substrate or get a layout that meets those clearances exactly.
The project depends on hidden gas, electrical, or plumbing runs that must stay serviceable: sealed masonry without access panels creates maintenance problems — switch to a framed system with planned access doors or removable faces.
What edge cases change the answer?
Small outdoor kitchens, rooftop kitchens, and kitchens under pergolas often need modified framing details, not a different concept. A rooftop or elevated installation usually pushes me toward lighter framing because dead load matters more. That means metal or carefully engineered wood is often preferable to block or full masonry, especially if the structure already carries other loads.
If the kitchen is under a roof but otherwise open to the elements, wood becomes more attractive because the top cover reduces direct water exposure. Even then, the posts, bottom plates, and any area close to the slab need real moisture protection. A covered kitchen is not a dry interior.
If the island includes a pizza oven, smoker, or other heat-heavy appliance, the frame around that unit needs separation and noncombustible material where required. In that case I would not rely on ordinary wood close to the heat source. Use the appliance instructions, then build around them.
Planning a very long run? An island over 10 feet long makes movement and alignment more visible. Metal or masonry often stays straighter across that span, while wood needs more intermediate support and better moisture control. Want a floating, furniture-like look with thin lines? Metal usually gives the cleanest result.
What should a good outdoor kitchen frame look like when it’s done?
A good frame looks boring before the finish goes on and still looks straight after a season of weather. The doors hang evenly, the countertop sits flat, and the access panels still open without rubbing. If the appliance cutouts line up on day one and stay lined up after a few storms, the framing did its job.