Last updated: September 10, 2026
Key Takeaways
- It also assumes you are choosing materials before finishing details.
- Use exterior-grade sealant, not hard filler, where different materials meet.
- The exact materials and fastener details will vary, but the order should not.
- The area adjacent to the grill needs noncombustible or ignition-resistant materials.
Bad structure ruins more outdoor kitchens than bad appliances do. Want a straight, draining island that still looks decent after a few freeze-thaw cycles? Start with three calls: frame material, countertop material, and how the assembly will handle water, heat, and movement. This guide is for a homeowner planning a permanent or semi-permanent outdoor kitchen in a backyard, patio, or covered terrace, and it assumes you already know the layout you want: grill, counter space, storage, maybe a sink or refrigeration. It also assumes you are choosing materials before finishing details. Building on a flexing deck, fastening into a sketchy slab, or running gas, electrical, or plumbing changes you do not already know how to permit in your area? That is the moment for the right licensed trades. The shell can be simple; the utility work often isn’t.
What an outdoor kitchen structure has to survive
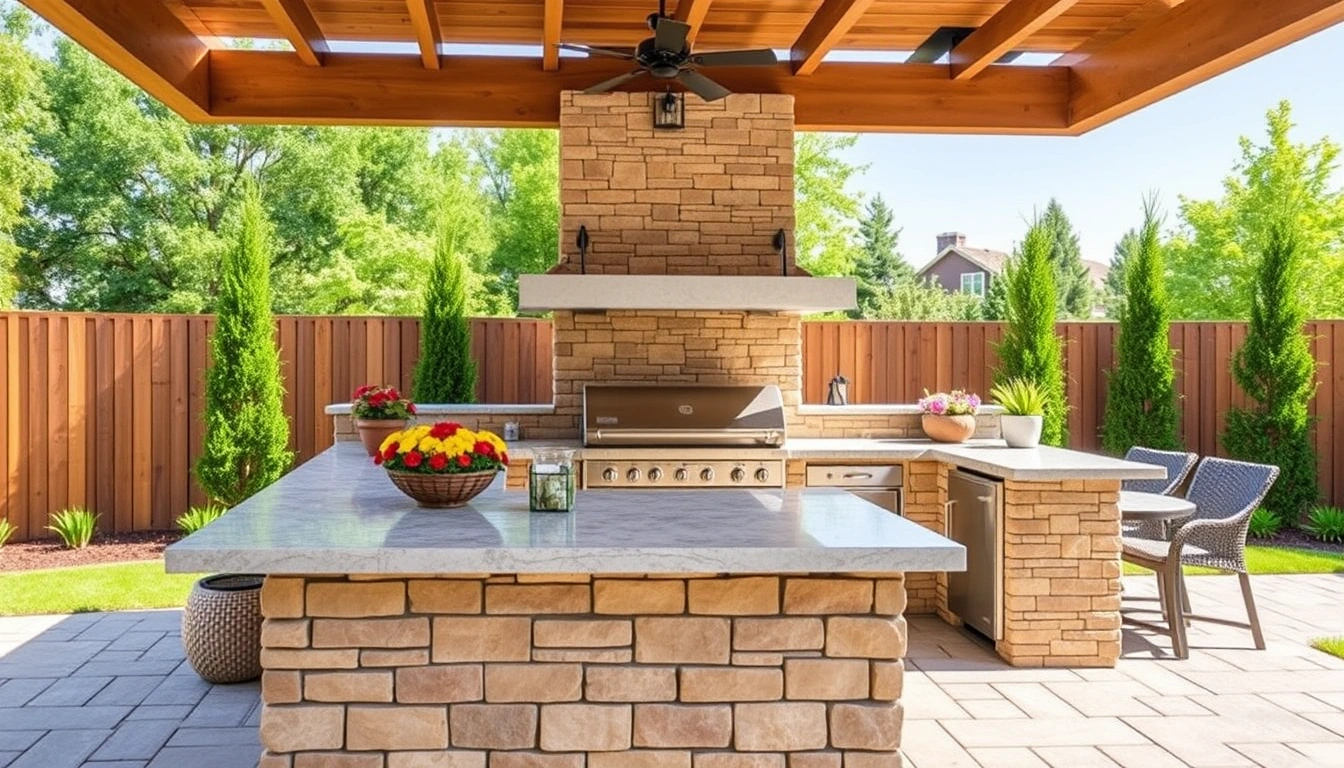
Moisture, heat, movement, and cleaning—those four forces beat up weak materials quickly. Honestly, this is where generic advice goes sideways. People pick the finish first, then act surprised when cabinet doors swell, stone cracks at the grill cutout, or tile loosens in winter. Structure is not just “the base.” It’s the load path from grill and counter down to the slab or deck, plus the skin that keeps water out and the finish stable.
So what matters more: “What looks premium?” or “What will stay square and dry in my climate?” A coastal Florida backyard, a roofed Texas patio, and a freeze-thaw Midwest site all ask for different solutions. Humidity can warp poorly sealed wood. UV can chalk cheap powder coat. Standing water wrecks particle board in one season flat. On a masonry base, the issue is usually capillary moisture and thermal movement; on a deck, it’s deflection and point loads. A grill island can turn into a several-hundred-pound assembly once you add stone, appliances, and concrete board, so the support beneath it matters as much as the surface you see.
I’d split the structure into four layers: foundation or support, frame, sheathing/substrate, and finish. If you are unsure how those layers should work together, consult a licensed contractor or structural professional before you build. Each layer needs to fit the next, and sources such as IRC R301 and manufacturer installation guides are the place to verify those details. A steel frame with cement board sheathing and porcelain tile can work well; a wood frame with outdoor-rated sheathing and stone veneer can work if drainage and sealing are done right; a direct-tile-over-plywood build outdoors is the shortcut that bites later. One simple rule: if a material is not rated for exterior use or cannot handle repeated wetting, don’t let it be the thing holding the kitchen up.
Which frame material is best for an outdoor kitchen?
Exposure, budget, and maintenance tolerance decide the frame material. For many permanent outdoor kitchens, galvanized steel or properly detailed masonry are often better choices than standard lumber because both handle moisture better and stay straighter under heavy tops. That does not make wood “wrong,” but it narrows where wood makes sense.
A galvanized steel frame uses steel members coated with zinc to resist corrosion. In practice, that usually means square tube or structural framing built to sit on a slab and support a counter shell. Steel is stiff, compact, and good for long spans or heavy appliances. Its weak spot is corrosion at cut edges, fastener holes, and anywhere water sits. Choose steel, and every cut needs corrosion protection; the frame also has to stay off direct soil contact and standing water. Rust doesn’t care how nice the finish is.
Pressure-treated lumber is often one of the least expensive common framing options, though actual pricing can vary widely by region and market. It is acceptable in some outdoor kitchen builds, especially under covered patios where water exposure is limited. The problem is not just rot; it is movement. Wood expands and contracts, and that movement shows up at tile joints, countertop seams, and door openings. I would not use untreated lumber outdoors, and I’d be cautious with pressure-treated wood in fully exposed builds unless the design is simple, well drained, and easy to inspect; if the site is demanding, check the plan with a licensed contractor.
Masonry block or concrete masonry units, often called CMU, are the heavy-duty choice. They suit permanent islands on slabs, especially where you want fire resistance and mass. CMU is forgiving of heat and load, but not of sloppy detailing. Leave voids open to water, skip mortar joint sealing, or omit a cap on top, and moisture will migrate in and stain finishes. It also makes later changes harder. That’s the trade-off.
Aluminum framing shows up in modular systems and some premium outdoor cabinet lines. It resists corrosion well and stays light, which helps on decks or roof terraces. The downside is cost and design rigidity. Aluminum frames can be excellent when engineered as a system, but they are less friendly to improvised on-site changes.
My view is straightforward: if the kitchen is permanent and exposed, choose steel or masonry; if it is lighter-duty or partly sheltered, a carefully detailed wood frame can work. That recommendation goes out the window on a deck with poor load capacity, a site with chronic flooding, or any build where you cannot keep framing off wet surfaces.
What countertop materials actually work outside?
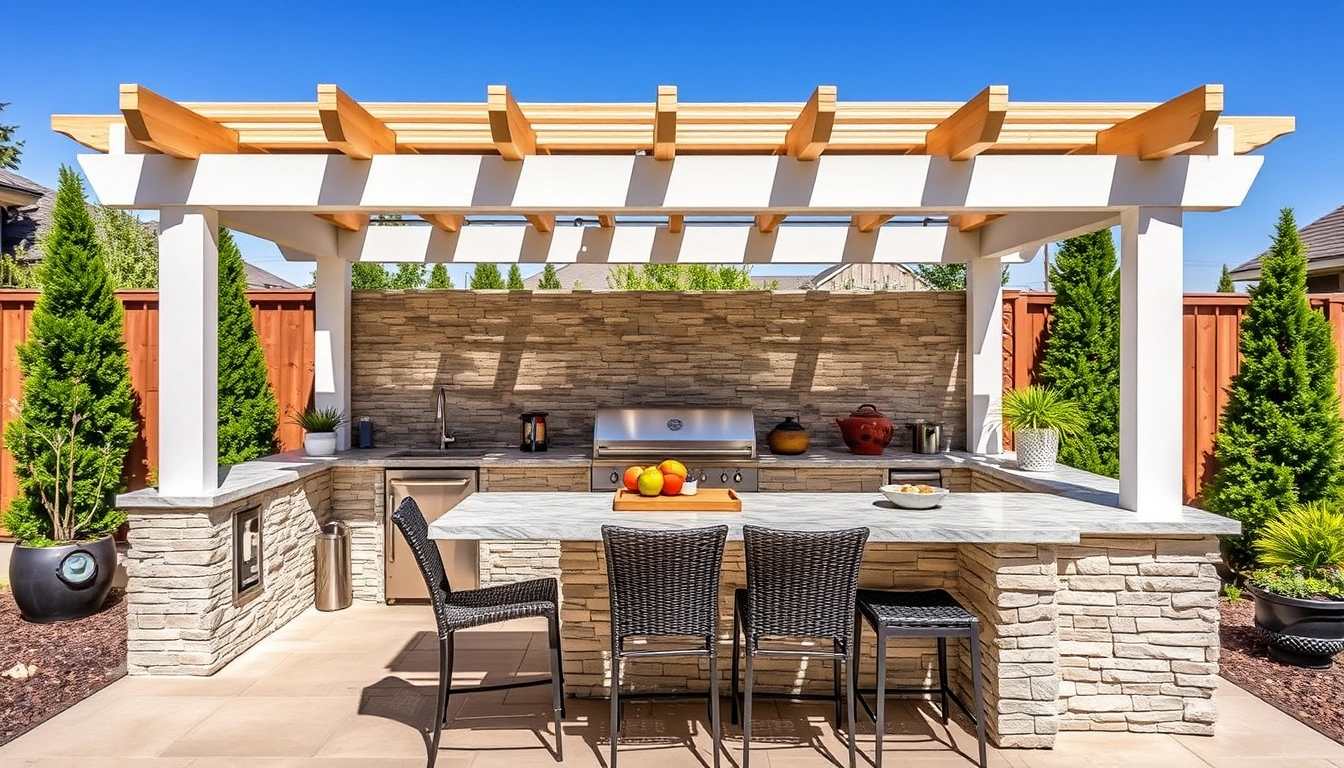
The countertop material has to resist UV, thermal shock, staining, and edge failure, and not every pretty surface can do that. I’d start with four realistic candidates: granite, porcelain slab, concrete, and certain engineered outdoor-rated surfaces. The wrong pick often looks fine on day one and then shows hairline cracks, discoloration, or bonded joints opening after a hot summer and a cold winter.
Granite remains a strong option because it tolerates heat well and can handle outdoor use if the stone is dense and sealed appropriately. Not every granite performs the same, though. Highly porous stones absorb moisture and stain more easily. A light-colored slab may show rust or efflorescence from the base if the structure is trapping water. Granite also needs proper support under overhangs and cutouts; unsupported spans at sink openings are common fracture points. The Natural Stone Institute and similar fabrication guides emphasize support and sealing details for exterior use.
Porcelain slab has become one of my preferred materials for modern outdoor kitchens because it resists UV, stains, and heat very well, and it does not need the same level of sealing as natural stone. It is thin, often around 12 mm, so it depends on a solid substrate and precise support. The downside is edge fragility during fabrication and installation. A chipped edge or a poorly supported seam can become visible and can propagate if the substrate moves.
Concrete countertops give you custom shapes and a monolithic look, but they demand disciplined curing, reinforcement, and sealing. Outdoors, concrete can work beautifully when made for exterior service, but it can also crack, craze, or discolor if the mix, reinforcement, or sealer is wrong. I would not pick concrete for a client who wants zero maintenance. It rewards patience, not neglect.
Engineered stone made from quartz is usually a poor outdoor choice because many quartz products are not meant for direct sunlight. They can fade, discolor, or lose finish. That is one of the most common mistakes I see in plan reviews. A material marketed for indoor kitchens is not automatically suitable outside, and the manufacturer’s exterior rating is the deciding detail.
For budget-conscious builds, concrete pavers or large-format exterior-rated tile can work as a surface, but only if the substrate, waterproofing, and movement joints are detailed correctly. The less forgiving the surface, the more exact the structure beneath it must be. If you want the easiest long-term maintenance, I’d lean toward porcelain slab or a dense granite. If you want custom form and are willing to maintain the finish, concrete is viable. Quartz is the one I would avoid for exposed outdoor use unless the manufacturer explicitly rates that exact product for exterior UV exposure. For more on compatible assemblies, see our guide to outdoor kitchen countertops and exterior finishes.
How do you build the structure step by step?
Match the frame, substrate, and finish to the site conditions before you start cutting, then assemble in a way that keeps water out and movement controlled. Here’s the sequence I’d use for a typical slab-based outdoor kitchen.
- Confirm the support surface. Start with a level, crack-free slab or properly designed deck platform, and check that the planned island footprint has full bearing. A common practical target is a surface that does not visibly pond water and a base that can accept the full footprint, not just the corners. Verify that the slab is sound and flat enough for the frame; a problem shows up as rocking, gaps under the frame, or a slope that would make doors bind.
- Mark the kitchen footprint with appliance clearances. Lay out the grill, sink, door swing, and any vent openings before the frame goes in. Leave the manufacturer’s required clearances around the grill body and keep at least enough working room for access doors and service panels. Verify that doors can open fully and that service access lines up with shutoffs; a problem is a grill box or access panel that gets trapped behind a finished face.
- Build the frame from an exterior-rated material. Use galvanized steel, masonry, aluminum, or pressure-treated lumber as appropriate to exposure, and keep all bottom members off direct water by using a base track, standoffs, or a masonry plinth. Verify the frame is square by measuring diagonals; a difference of more than about 3 mm across a small island can telegraph into the finish. A problem is a frame that twists when you tighten fasteners.
- Add noncombustible sheathing where heat is close. Install cement board or another exterior-rated substrate where the grill cavity and nearby surfaces need heat resistance. Cement board, commonly 1/2 inch or 12 mm, is not waterproof by itself, so treat it as a substrate, not a finish. Verify that joints are staggered and fasteners are properly spaced; a problem is exposed gypsum board or a substrate that touches the grill body directly.
- Detail water management before the finish. Include a sloped top, a drip edge, and sealed penetrations around sink plumbing and gas lines. A slight slope is enough; you do not want standing water on horizontal surfaces. Verify that water can drain away from the cabinet face and that no raw cut edges are exposed. A problem is a flat top that holds puddles or any place water can sit inside a cavity.
- Install the countertop on a continuous, stable bed. Set stone, porcelain, or concrete only on a substrate that gives full support, especially at cutouts and seams. Follow the material-specific adhesive or mortar system; porcelain and stone do not want improvisation. Verify that seams are tight and even, and that the overhang is supported as specified. A problem is hollow-sounding areas, chips at the edge, or visible stress at a sink opening.
- Seal the joints that need sealing and leave the ones that need movement. Use exterior-grade sealant, not hard filler, where different materials meet. Expansion joints, also called movement joints, let parts move without cracking the finish. Verify that all perimeter joints, utility penetrations, and dissimilar-material transitions are sealed cleanly. A problem is grout or rigid filler bridging a joint that should flex.
- Test access, heat, and drainage before final trim. Open every door, check the grill fit, run water if there is a sink, and inspect the underside after a wetting event. Verify that nothing rubs, no panel swells, and no moisture lingers inside enclosed cavities. A problem is condensation, trapped water, or fasteners corroding at first contact with moisture.
The exact materials and fastener details will vary, but the order should not. Finish last. Water management first. Structure in the middle. Reverse that order, and you end up solving visible problems while the hidden ones keep growing. For related planning, see outdoor kitchen design ideas and patio drainage basics.
What should you check before you choose a finish?
Check climate, load, fire exposure, and maintenance access before you choose a finish, because those four factors decide whether a finish survives or becomes a liability. This is where a lot of attractive outdoor kitchens go wrong. A finish is not a rescue for a weak base; it’s the skin that inherits every mistake below it.
Climate comes first. In freeze-thaw regions, a finish that absorbs water will eventually split or spall as trapped moisture expands. That matters for concrete, some natural stones, and poorly detailed tile systems. In hot, sunny areas, UV stability matters more. A finish that looks fine indoors may chalk, fade, or soften outdoors. That is why I distrust vague “outdoor-friendly” labels unless the manufacturer says how the material is intended to be used, and why the ASTM or manufacturer specification matters more than the showroom description.
Load matters more than people expect. A large grill, side burners, a sink, a refrigerator, and a stone top can create concentrated loads that a weak base cannot carry cleanly. Decks are the biggest caution point. If the structure below the kitchen flexes under normal foot traffic, I would not mount a heavy masonry or stone island there without a structural check. A crack in a finish often starts as a deflection problem, not a surface problem. For load planning, our deck load guide and countertop support guide cover the basics.
Fire exposure is the other boundary condition. The area adjacent to the grill needs noncombustible or ignition-resistant materials. That usually means metal, masonry, cement board, and properly specified clearances around the cooking appliance. A wood face too near the firebox is a poor choice, even if it is painted well. The best-looking trim does not matter if it chars.
Maintenance access is the detail many people skip. If a shutoff valve, drain, or electrical plug cannot be reached without removing half the island, future service gets expensive and slow. Leave access panels. Keep them large enough to work through, not just to look neat. I’d rather see a slightly larger access door than a beautiful enclosure that has to be cut open later. For that reason, plan access around outdoor kitchen plumbing and outdoor kitchen electrical before you commit to the finish.
Simple rule: choose the finish after you know the climate, the support, and the hottest point in the kitchen. For a covered patio in a mild climate, the finish options are broad. For a fully exposed, freeze-thaw site, the field narrows fast, and that is a good thing.
When should you stop and change the plan?
Stop and change the plan when the site, support, or utility layout makes the standard build a poor fit. These are the points where “keep going” usually turns into rework.
The kitchen will sit on a flexible wood deck: that means movement is likely to crack tile, loosen stone, and shift heavy appliances — switch to a lighter system, reduce mass, or have the deck structure evaluated before proceeding.
The slab slopes toward the house or pools water: that means moisture can work into the cabinet base and finish — correct the drainage first or relocate the kitchen.
You need to run new gas, electrical, or plumbing lines through finished living space: that means the project is no longer just carpentry — stop and use properly permitted trades for that part of the work.
The grill manufacturer requires specific clearances you cannot meet: that means overheating and warranty problems are on the table — choose a smaller unit, change the layout, or redesign the enclosure.
The chosen countertop material is indoor-rated only: that means UV or moisture failure is likely — replace it with an exterior-rated stone, porcelain, or concrete made for outdoor use.
The island would block service access to shutoffs or drain cleanouts: that means future maintenance becomes destructive — redesign the access now, not after finish work.
You are planning masonry or stone over a substrate that can move more than a little: that means the finish may crack at joints and corners — use a lighter cladding system or stiffen the structure first.
These are not cosmetic issues. They decide whether the kitchen lasts 2 seasons or 10. If one of them is true, I would treat the existing plan as the wrong tool rather than trying to patch around it.
The mistakes people make with outdoor kitchen materials
The mistakes people make with outdoor kitchen materials are usually boring, which is why they show up so often. They also cost real money because they force partial tear-out or constant patching. I see the same errors again and again.
One mistake is choosing indoor cabinetry materials because the finish looks good. Particle board and interior MDF do not belong in an exposed outdoor kitchen. Their failure mode is swelling, which destroys alignment and fastener holding. The better alternative is exterior-rated framing and cabinet systems built for moisture, or a site-built structure with proper sheathing and finish.
Another is using untreated wood near water or on a slab that stays damp. The consequence is rot, mildew, and fastener corrosion at the base. The fix is simple: use treated material where wood is appropriate, keep it elevated, and separate it from water with a base detail that does not trap moisture. For more on that, see framing materials and water management details.
A third mistake is skipping movement joints in tile or stone. Outdoors, temperature swings are larger, and rigid surfaces need room to expand. If you grout everything tight and hard, the finish can tent, crack, or pop. The correct alternative is an exterior-rated assembly with planned movement joints and sealant where the surface needs flexibility.
A fourth mistake is underestimating heat around the grill cutout. I have seen people use decorative trim or paint too close to the firebox because it looks finished. The consequence is scorching and premature deterioration. The alternative is to use noncombustible materials and respect the grill maker’s clearance instructions.
A fifth mistake is forgetting water paths. When a counter has no slope, no drip edge, and no sealed penetration, water runs into cabinets, around utility openings, and behind veneers. The result is hidden damage that shows up only after staining or corrosion. The right approach is to detail drainage first and treat every hole as a water entry point.
The last common mistake is picking a material by color rather than