Last updated: September 10, 2026
Key Takeaways
- A long 120-volt run with too much voltage drop can make a fridge cycle poorly or lights dim.
- Electrical usually powers one or more 120-volt GFCI-protected receptacles, task lighting, an ignition system, and maybe a beverage fridge.
- The same applies if your local code requires a licensed plumber or electrician to make the final connection.
- What you need before you start is the actual route, not just an idea of the route.
Running gas, water, and electrical lines to an outdoor kitchen is a home utility job first, carpentry second. Start with the route. Start there, really. This guide on how to run gas, water, and electrical lines to an outdoor kitchen begins with permits, code limits, and the trench plan before you dig; it also shows where a licensed pro should step in. Building a permanent outdoor kitchen? I’d rough in the utilities before any cabinets, island walls, or pavers go down.
Who this applies to — and what I’m assuming you already know
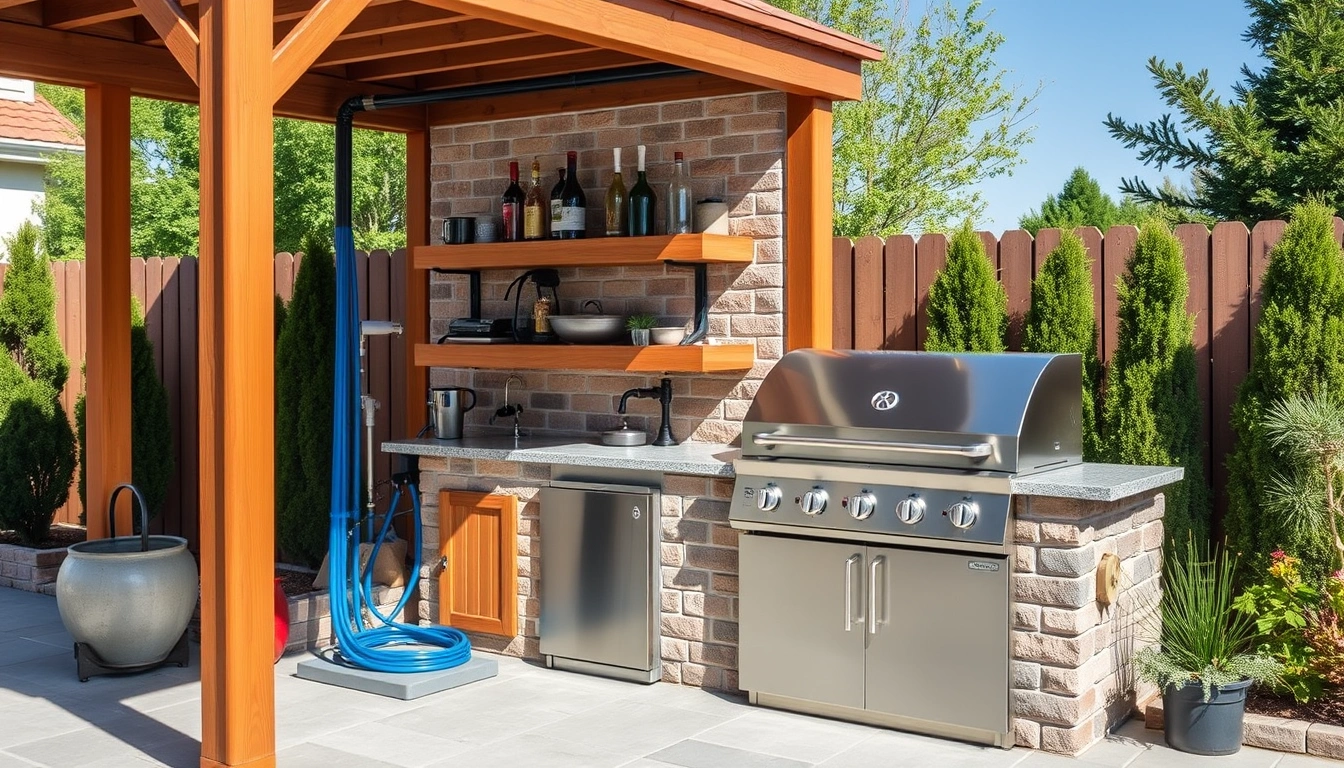
This applies to a homeowner planning a fixed outdoor kitchen with a grill, sink, refrigerator, lighting, and outlets within roughly 10 to 50 feet of the house. I’m assuming you already know the final layout, have access to the main panel, the water supply, and a gas source, and can read a simple site plan with measured distances. I’m also assuming you’re dealing with a low-voltage-to-normal-voltage residential setup, not a commercial cookline or a detached building with separate service.
Not the right project? Then stop. If you need a new gas meter, a larger service panel, or a long trench crossing a driveway, retaining wall, or public utility easement, this gets bigger fast. In those cases, the utility run is only one slice of the whole job, and I’d bring in licensed trades early rather than late. The same applies if your local code requires a licensed plumber or electrician to make the final connection. Common enough.
What you need before you start is the actual route, not just an idea of the route. Measure the distance from the tie-in point to the outdoor kitchen in feet, note every turn, and mark depth conflicts such as footings, irrigation, or tree roots. For a clean plan, I’d also identify the finished grade so you know how much pipe or conduit will need to rise above the trench. A sketch with 1/4-inch or 1-inch scale is enough for planning.
The real question is not “Can I run these lines?” It’s “What has to be in the ground, at what depth, and in what order, so the kitchen works and stays serviceable?” That’s the part I’m answering.
What has to be planned before the trench goes in?
Route, load, and termination points have to be locked in before you open the trench. Change them later, and you usually pay twice — once in labor, once in rework.
Start with what each utility will serve. A gas grill needs a dedicated gas branch sized for the appliance load and the length of run. A sink needs a cold-water line and a drain strategy; want hot water too? That adds another branch and often a separate heater. Electrical usually powers one or more 120-volt GFCI-protected receptacles, task lighting, an ignition system, and maybe a beverage fridge. Different rules. Different layout.
For gas, the number that matters is BTU load, which is the heat input rating of the appliance or appliance group. That figure decides whether 1/2-inch pipe is enough or whether you need 3/4-inch or larger, based on total demand and run length. Don’t guess. Use the appliance nameplate and the manufacturer’s gas requirements, then size the branch using a gas pipe sizing chart that matches your fuel type and pressure. That math stops working fast when people eyeball it.
For water, freeze protection comes first. In most climates, the line must be buried below frost depth or otherwise protected by draining, insulation, and shutoff strategy. A simple hose bib tied to an uninsulated line is not enough for a permanent kitchen in freezing weather. If you want a sink that stays usable into shoulder seasons, you need a shutoff valve inside the house or in a conditioned space, plus a way to drain the line.
Electrical? Panel capacity and path. A 20-amp, 120-volt branch circuit is common for outlets in an outdoor kitchen, but the actual setup depends on what you’re powering and what your local code allows. Outdoor receptacles need weather-resistant, in-use covers, and circuits outdoors are generally required to be GFCI protected. Long run? Voltage drop matters. A 12-gauge conductor may be fine for a short 20-amp run, but longer distances can call for a larger conductor to keep performance acceptable.
Get permits before digging if your jurisdiction requires them. Call 811 before you trench. Not optional. And not just for the public street. Marked utilities can still be nearby even if they are not where you expected.
How do you run gas, water, and electrical lines to an outdoor kitchen?
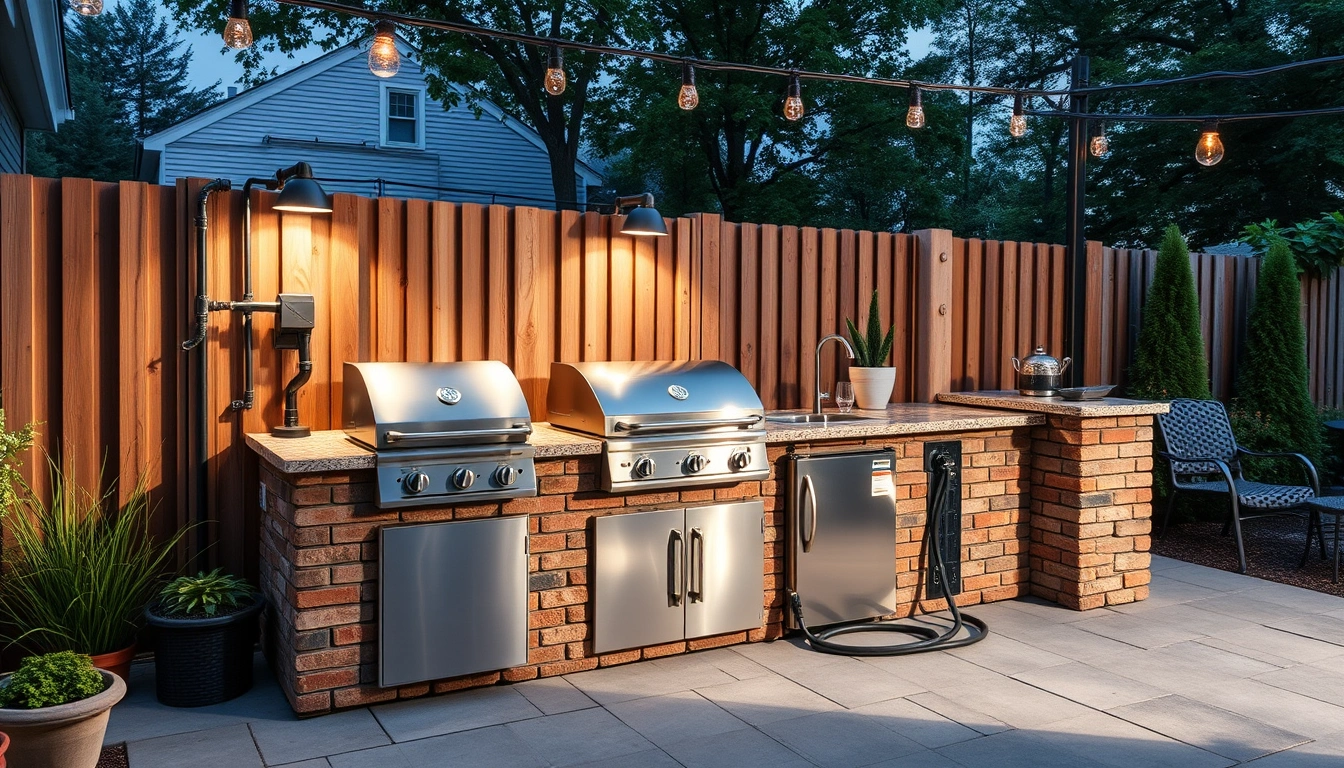
Run them in a coordinated trench or set of trenches, with the utilities separated, protected, and terminated to code. Exact depth, material, and conduit method depend on local rules. The sequence? Pretty consistent.
- Lay out the route and mark all utilities. Mark the finished kitchen location, the house tie-in points, and the trench path with paint or flags. Keep gas, water, and electrical routes as straight as possible, with 90-degree turns only where needed. Verify that the route avoids tree roots, downspout drains, foundation footings, and existing utility lines. A bad route is one that forces a tight bend or crosses a known obstruction, because that usually means a shallow line or future damage. According to the International Residential Code and local utility rules, the final layout should be checked against the authority having jurisdiction before work proceeds.
- Confirm sizing and materials before buying pipe. Match gas pipe size to the total BTU load and run length, choose water pipe rated for burial and potable use, and use electrical conduit that is approved for direct burial or installed with proper conduit. For gas, black steel, copper where allowed, or CSST only where permitted by code and protected properly are the usual options. For water, PEX is commonly used in sleeves or approved burial applications, but the local standard matters. For electrical, common choices are PVC conduit or Schedule 80 where exposed. Verify the exact method your jurisdiction accepts. “What worked for a neighbor” is not a plan. The National Fire Protection Association’s NEC and the local plumbing code are the places to verify those minimums.
- Dig the trench to the required depth and width. Depth varies by system and local code; 18 inches is a common minimum for some electrical runs in conduit, while gas and water often require deeper burial, especially where frost is a concern. In practice, many outdoor kitchen trenches end up in the 18- to 24-inch range or deeper, but that is only a planning range, so consult a professional or the local inspector before you treat it as a rule. Verify that the trench bottom is smooth and free of rocks. Too shallow? Jagged? That invites shovel strikes and settlement. The NEC and local amendments set the actual burial depths, and frost-depth maps from local building departments help with water lines.
- Run gas with shutoff, sediment trap, and test provisions. Install a branch shutoff valve where it remains accessible, then run the sized gas line to the kitchen. At the appliance end, provide the connector and any sediment trap or drip leg required by the appliance and local code. Pressure-test the line before covering it. Use the test pressure and duration specified by the authority having jurisdiction or the manufacturer, and never test with an open flame. A pressure drop points to a leak, bad joint, or damaged fitting. The International Fuel Gas Code and the appliance instructions are the primary references, and if the run is long or complex, consult a licensed gas fitter.
- Run water with isolation and winterizing in mind. Bring a potable water line from the house through a shutoff valve that can be reached without dismantling the kitchen. If freezing is possible, slope the line where allowed so it can drain, or route it below frost depth. Install the sink stub-up and any stop valves in a protected cavity. Verify that the line holds pressure and that every joint is dry before backfill. Water pooling in the trench or a valve you cannot reach later is a problem. The UPC and local plumbing rules control the drain-down and backflow details, so consult a plumber if the line is long or the site freezes hard.
- Run electrical in conduit with the right protection. Pull individual conductors or cable only in a method allowed by local code, and use GFCI protection at the circuit or receptacle as required. For an outdoor kitchen, I would expect weather-resistant receptacles and covers, plus a local disconnect if an appliance needs one. Keep electrical separate from gas and water by the required spacing or barrier. Verify continuity, polarity, and GFCI trip function before closing anything up. Exposed conductor, damaged insulation, or a breaker that trips under normal load is a problem. The NEC and the local electrical inspector are the right sources here, especially for long runs and outdoor receptacle placement.
- Install warning tape, bedding, and backfill correctly. Before backfill, place warning tape a short distance above buried utilities where required, then add clean fill around the pipes and conduit. Avoid large rocks and compact in lifts so the trench does not settle later. Verify that the utility markers remain accurate after the fill is placed. Backfilling with debris can crush conduit or kink pipe over time.
- Make the final connections and re-check the system in sequence. Connect gas first with leak testing, then water with pressure testing, then electrical with breaker-on testing and GFCI verification. If the outdoor kitchen includes multiple appliances, start one at a time. Verify gas flame quality, water flow, and outlet function individually. Simultaneous troubleshooting after all finishes are installed is a headache, because it becomes impossible to isolate the fault without opening finished work.
The order matters. Finish the kitchen island first, and you lose access to fittings and test points. Rough in utilities before the final base material and finish surfaces whenever the project schedule allows.
What can go wrong if you skip the boring parts?
The boring parts are the parts that keep the job from becoming expensive. A trench that is 6 inches too shallow, a gas pipe one size too small, or a water line without a drain plan can turn a finished kitchen into a repair project. Brutal, but true.
One common failure is undersizing the gas line. A grill that lights but cannot hold temperature often has pressure drop caused by long, undersized pipe or too many appliances on the same branch. The fix is usually to recalculate the BTU load, shorten the run if possible, or increase pipe diameter. I wouldn’t bury a marginal gas run and hope for the best, because a licensed gas fitter can verify whether the line is actually acceptable.
Another failure is ignoring freeze protection on water. A line that traps water in a low spot can split in winter even if the kitchen looks fine in summer. The better alternative is a properly placed shutoff, drain-down strategy, or below-frost-depth burial. In cold climates, that detail is not optional.
Electrical mistakes are often less dramatic at first and more annoying later. A receptacle under a cover that is not rated for wet locations can fail early. A long 120-volt run with too much voltage drop can make a fridge cycle poorly or lights dim. The correct alternative is to size the conductors and circuit for the real load, not just the nameplate minimum, and to use outdoor-rated components from the start.
The other big mistake is sharing a trench without respecting separation. Gas, water, and electrical can share a route in some setups, but they should not be treated as one bundle; consult the NEC, plumbing code, and local utility rules before combining them. A damaged water line can undermine a conduit. A future electrical repair can nick gas if the route was crowded and undocumented. I’d keep the run documented with photos and measurements before backfill, including the depth from grade to the top of each line.
When should you stop and bring in a licensed pro?
Stop when the job crosses into a permitted utility modification or any part you cannot pressure-test, size, or terminate to code. That’s the honest line.
You need a new gas meter, regulator, or service upgrade: This means the project is no longer just a branch run — stop and use a licensed gas fitter or plumber, because service work can affect the entire house supply.
Your outdoor kitchen is more than about 50 feet from the tie-in point: This means voltage drop, gas sizing, and water pressure loss become more sensitive — stop and have the system sized on paper before you buy pipe or conduit.
The route crosses a driveway, retaining wall, or slab: This means the trench and repair work become structural as well as utility work — stop and bring in a contractor who can handle the crossing without creating settlement or damage.
You need hot water or a permanent drain: This means plumbing code may require a trap, venting, or an approved drainage path — stop and check the local rules, because a sink drain dumped into the wrong place can create a code violation fast.
Your panel is full or near full: This means the electrical part may require a subpanel, load calculation, or service upgrade — stop and have an electrician verify capacity before you add another 20-amp circuit.
You cannot perform a gas leak test or electrical verification correctly: This means you cannot confirm the most failure-prone parts of the job — stop, because burying an untested line is the most expensive mistake in the whole project.
If any of those apply, the project is still possible. It just stops being a straightforward homeowner run.
The mistakes people actually make, and what they cost
The most common mistake is trenching first and planning later. That usually costs time, extra fittings, and patched landscape. The correct alternative is a measured layout with utility locations marked before the first shovel goes in.
Another mistake is using the same depth for everything. Gas, water, and electrical do not automatically share one acceptable burial depth. The cost of that error is either a failed inspection or a line that gets damaged later. The correct alternative is to follow the deepest applicable requirement and document the route.
A third mistake is burying inaccessible shutoffs. If the gas shutoff is under a finished cabinet or the water stop is behind masonry, you have built a problem into the kitchen. The better approach is accessible valves in a serviceable location.
A fourth mistake is ignoring the final appliance instructions. Some grills need a specific inlet pressure, some refrigerators need dedicated circuits, and some sinks need a minimum drain pitch of about 1/4 inch per foot where gravity drainage is used. Skip the manufacturer sheet, and you can install a code-compliant line that still does not work properly.
A fifth mistake is backfilling too early. If you close the trench before testing, you force yourself into demolition when a fitting leaks. The right alternative is to test gas, water, and electrical separately before any cover-up.
What to do before backfill, inspection, and the first cookout
Before backfill, photograph every line from multiple angles and measure the depth from finished grade to the top of each utility. Keep the utility route, shutoff locations, and panel/circuit labels in one folder so the next repair is not guesswork. That makes the outdoor kitchen easier to service later and gives an inspector a clear record of how the gas, water, and electrical runs were built.
Before the first cookout, test each system separately. Check gas with the required pressure test and a leak solution at every joint. Run water long enough to confirm pressure, drainage, and that no fitting weeps. Turn on the electrical circuit, verify the GFCI, and confirm that the outdoor receptacles and lighting stay stable while the appliance runs. If anything changes after backfill, stop and investigate before covering it with stone, tile, or decking.
So, how to run gas, water, and electrical lines to an outdoor kitchen? Sequence, separation, and code compliance. Get the route, depth, and access right, and the kitchen will be much easier to finish and maintain.