Last updated: September 10, 2026
Key Takeaways
- Place anchors near corners and along long runs, typically every 24 to 36 inches depending on the structure.
- A common finished counter height is about 36 inches, but confirm your plan before cutting.
- Consult a professional before using untreated 2x framing, interior drywall, particleboard, or kitchen-grade MDF outdoors; these materials are not appropriate for exterior exposure.
- This is for a homeowner or hands-on DIYer who can cut 2x lumber, drive screws accurately, and follow a plan to the inch.
A durable outdoor kitchen island starts with the frame, not the finish. Get that wrong, and everything else turns into a headache. This guide explains how build an outdoor kitchen island structure so it stays square, keeps water out, and holds appliances without sagging. Build it like a small exterior wall assembly: rigid frame, weatherproof skin, noncombustible clearances around heat, and a countertop that can carry the load.
Who this is for, and what it assumes you already have
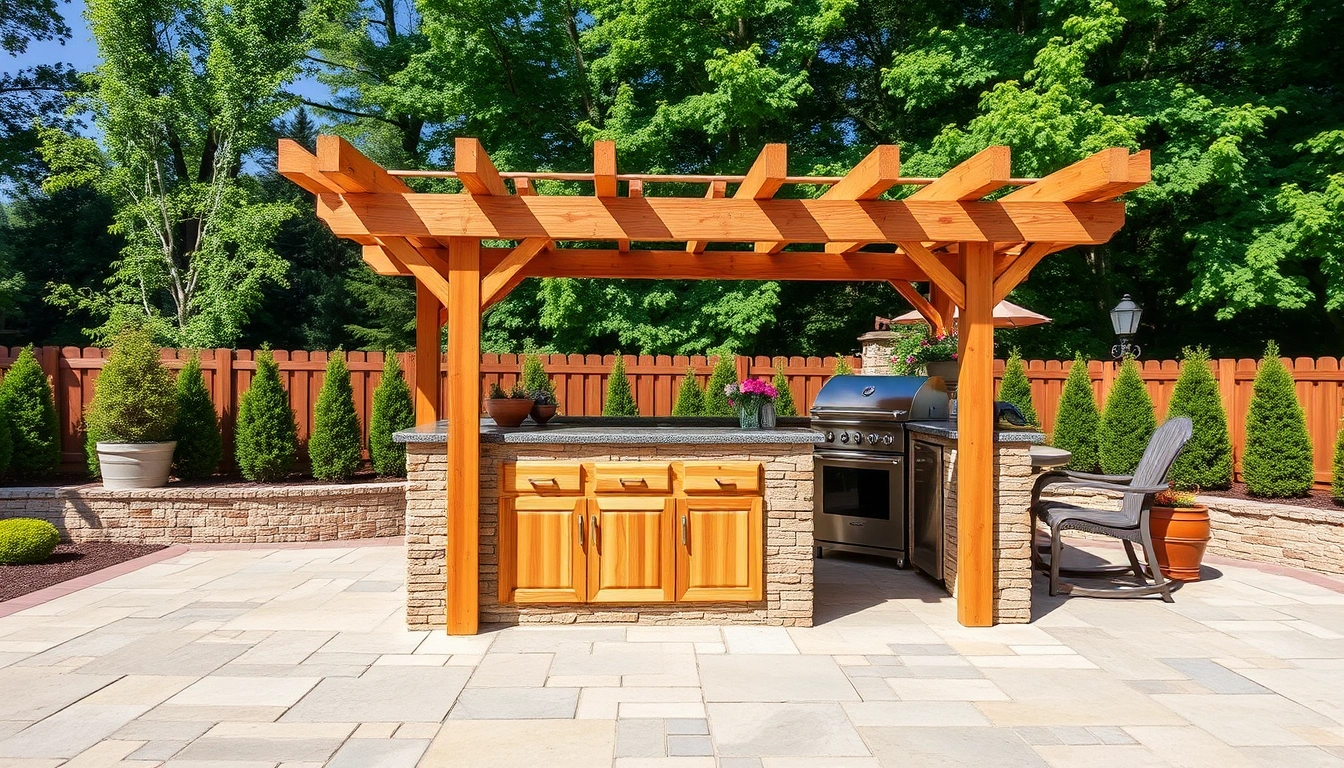
This guide on how build an outdoor kitchen island structure is for a homeowner or hands-on DIYer who can cut 2x lumber, drive screws accurately, and follow a plan to the inch. I’m assuming you already know where the island will sit, what appliances need to fit, and whether the island will be attached to an existing patio slab or built on a new base. I’m also assuming you have a level, tape measure, framing square, exterior-rated screws, and a way to cut plywood and dimensional lumber cleanly.
Not the right project? Then stop there. If your design needs gas line relocation, new electrical circuits, or a load-bearing roof tie-in, the risk jumps fast. A basic island frame is carpentry; once you move into gas, electrical, or masonry footings, it stops being “just build a box.” In those cases, I would rather see the structure designed around the services already in place, with the utility work handled by qualified trades and the plan checked against manufacturer instructions and local code.
Usually, the shell is built from pressure-treated 2x4s or 2x6s, skinned with 3/4-inch exterior-grade plywood or cement board, then finished with stone veneer, stucco, tile, or other cladding. Start with the appliance cut sheets if you plan to set a grill, sink, or undercounter refrigerator in it; don’t guess. Most mistakes happen because someone builds first and measures later, only to find the grill needs 3 inches of side clearance, a refrigerator needs rear ventilation, or the countertop overhang blocks a door. That math stops working fast.
Water comes first. Appearance can wait. A handsome frame that swells, rots, or traps moisture is a bad island; a slightly plain one that stays dry is the smarter bet, and honestly that trade-off is worth it.
What should the base and layout be before you start?
The base should be flat, stable, and large enough to support the finished footprint with at least 2 inches of margin on each side. For a typical island, I would mark out the full footprint on the patio or slab, then check for level across both diagonals. If the slab varies by more than about 1/4 inch over 6 feet, you need to shim the frame or correct the surface before you build on it.
Start with chalk line or painter’s tape. Include the countertop overhang in the outline, not just the frame. A common countertop overhang is 1 to 1 1/2 inches on finished edges, but appliance cutouts and door clearances matter more than the decorative edge. Verify the grill width, cabinet openings, refrigerator dimensions, and sink bowl size against the actual specification sheet. Don’t have the sheet? Stop and get it. Guessing the opening size is how people end up with a grill that cannot drop into the frame.
Drainage matters too. If the island sits on concrete, do not trap the bottom plate directly in standing water. I would leave the structure slightly lifted on pressure-treated shims or a moisture break, especially where rain blows under the overhang. If the site tends to puddle, the island needs a better location or a raised pad. Wood framed outdoors on a wet pad is a short path to swelling and fastener failure.
And think about access. You need room to open doors fully, reach shutoff valves, and service equipment. A 36-inch aisle is a common minimum for comfortable circulation, but more space is better if the island faces a seating area. If the island will include drawers or fridge doors, open them on your drawing before you cut anything. A nice drawing is cheaper than a mistake.
How do you build the outdoor kitchen island structure?
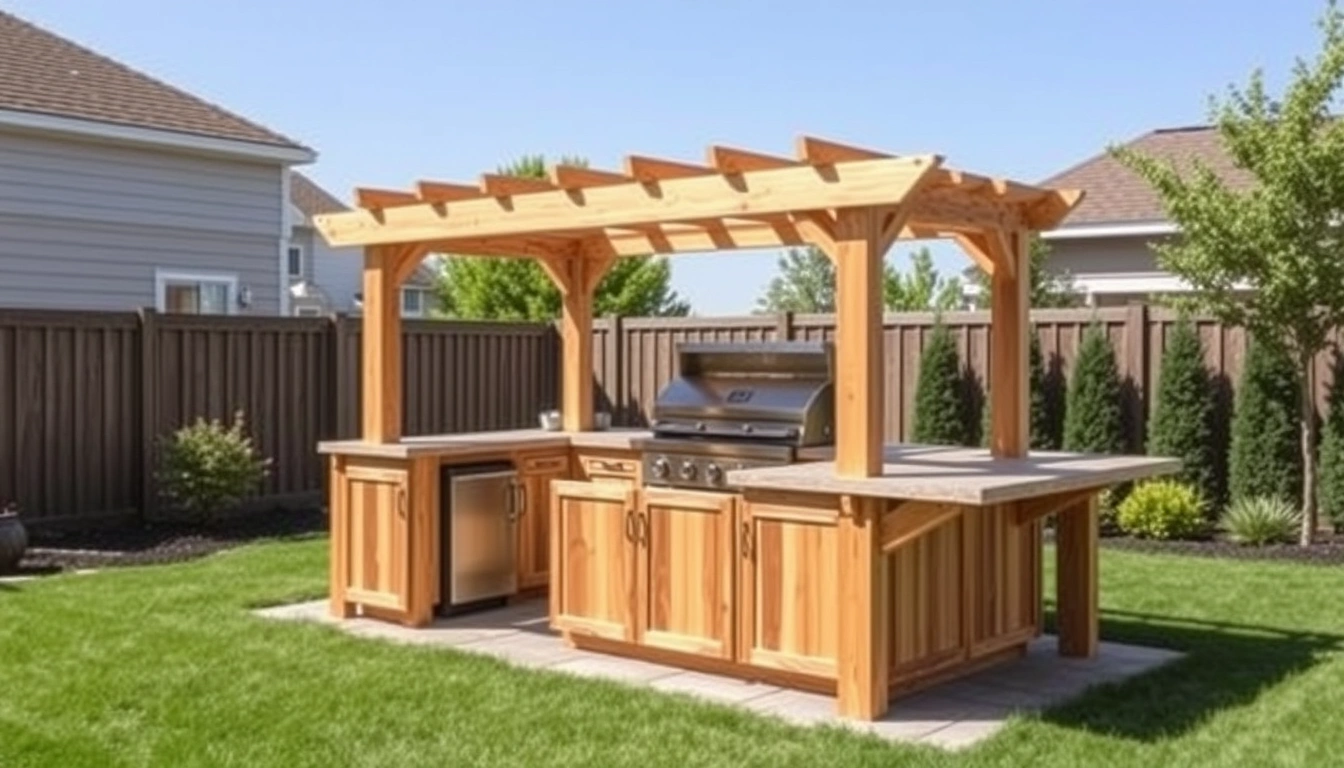
You build it by framing a rigid base, squaring every module, adding appliance openings with the right clearances, and sheathing the frame so it resists weather and rack. Here is the sequence I would follow for how build an outdoor kitchen island structure.
- Build the bottom frame to exact footprint. Cut pressure-treated 2x4s or 2x6s for the perimeter and internal ribs at 16-inch centers. Verify both diagonals match within 1/8 inch over the frame; if they do not, the rectangle is not square. A frame that is out by more than 1/4 inch will telegraph into the countertop and cladding. Consult the lumber manufacturer and your local building professional if the span, load, or moisture exposure is unusual.
- Anchor the frame to the slab or base. Use corrosion-resistant anchors appropriate to the surface, such as concrete screws or expansion anchors for a slab. Place anchors near corners and along long runs, typically every 24 to 36 inches depending on the structure. Verify the frame cannot shift when pushed from the side; movement means the anchor layout is too sparse or the base is uneven. For outdoor kitchen island structure work, check fastener recommendations with the anchor manufacturer or a qualified installer.
- Build the vertical posts and end walls. Cut studs to the finished counter height minus countertop thickness, then add top plates. A common finished counter height is about 36 inches, but confirm your plan before cutting. Verify all posts are plumb with a level on two faces; a leaning post will make door gaps uneven and can twist the countertop support.
- Frame appliance openings from the spec sheet. Leave the exact opening required by the manufacturer, then add any vent space the appliance calls for. For a grill, that often means a cutout slightly larger than the grill body and noncombustible surrounding material. Verify the front flange or trim ring can sit flat and the appliance can slide in without binding. If the opening is tight by even 1/4 inch, do not force it; trim the frame instead.
- Add cross-bracing and blocking. Install horizontal blocking wherever doors, drawers, or stone veneer will need support, and add diagonal bracing if the island is long or freestanding. Verify the frame does not sway when you push on a corner. If it racks easily, the island will feel hollow and weak once the finish goes on.
- Sheath the frame with exterior-rated panels. Cover structural faces with 3/4-inch exterior plywood or cement board, fastening every 6 to 8 inches along edges and 8 to 12 inches in the field. Verify panel edges land on framing, not in midair. Gaps larger than 1/8 inch should be adjusted before waterproofing, because open joints invite moisture.
- Wrap the structure for water resistance. Apply a weather barrier suitable for exterior use, then seal seams, corners, and penetrations. If you are using plywood under stone or stucco, the barrier matters as much as the sheathing. Verify that all cuts and screw heads are covered or sealed. A missed seam at the base is a common failure point.
- Install the countertop support and test fit the top. Add continuous support under stone or concrete tops and verify overhangs are within the material’s limit. Natural stone and concrete need full or near-full bearing; thin panels may tolerate less. Check that the finished top will not interfere with doors, burners, or ventilation. If the top rocks, the frame is not flat enough.
At this stage, I would dry-fit every front opening and door swing before cladding. Once stone or stucco goes on, small framing errors become expensive to fix. If you are planning tile, remember that tile is not structure; it is finish. The structure must already be stiff and dry enough to carry it. Otherwise, the whole thing goes sideways.
What materials actually make sense outdoors?
Pressure-treated lumber, exterior-rated sheathing, and corrosion-resistant fasteners are the usual winners, because they handle moisture without depending on perfect sealing. I would skip standard interior plywood completely. Wrong tool. Even under finish layers, it belongs inside.
For framing, use pressure-treated southern pine or equivalent where the structure touches a slab or sits close to splash zones, and consult a professional if you are unsure about exposure conditions or local code. Fasteners should be exterior-rated and compatible with treated lumber; common galvanized or stainless fasteners are the safer path. If the island is in a coastal area or salt-air environment, stainless steel is a better choice than bargain hardware, because corrosion climbs quickly there.
For sheathing, 3/4-inch exterior plywood gives a solid substrate, but cement board can be a better underlayment where the final finish is tile, stone veneer, or stucco. Cement board is not waterproof by itself, so it still needs a weather barrier behind it. That is where generic advice often goes wrong: people confuse “cement” with “waterproof” and skip the wrap. Water still gets in through seams, penetrations, and the bottom edge.
Countertops are where the load really shows up. A concrete slab, natural stone, or a manufactured exterior-rated surface can work, but each changes the frame design. Concrete is heavy and demands more support. Stone can crack if the frame twists. Lightweight composite surfaces are easier on the structure but may cost more and still need a flat substrate. If you are building a simple DIY island, a countertop with a predictable thickness and known support requirements makes the job easier. A 2-centimeter stone top, for example, is not the same structural demand as a poured concrete cap.
I would not use untreated 2x framing, interior drywall, particleboard, or kitchen-grade MDF outdoors. Consult a professional if you are unsure whether a material is appropriate for the site, because those materials fail in predictable ways: swelling, delamination, and fastener pullout. A dry climate delays the damage, but it does not change the physics. It’s a slow leak, not a fix.
When should you stop and change the plan?
Stop and redesign if the island depends on gas, electrical, drainage, or masonry work you are not already qualified to do. The structure itself is manageable; the services are where the risk changes. Here are the clearest red flags.
The grill cutout needs a gas line reroute: that means the structure is no longer just carpentry — reroute and connect the line through a licensed gas fitter before you close the frame.
You need a new electrical circuit for a refrigerator, lights, or outlets: that changes the project to electrical work — have the circuit planned and installed before sheathing.
The slab slopes more than about 1/4 inch over 6 feet: the island will rack or rock — correct the base or use a different location.
The countertop material requires continuous support you cannot provide: a stone or concrete top can crack under flex — change the top material or rebuild the frame with full bearing.
The island will sit where water puddles after rain: the lower framing will stay wet — move it, raise it, or change the base.
You cannot get the appliance cut sheets: the openings cannot be sized safely — stop and obtain the manufacturer dimensions before cutting.
If any of these issues show up after framing starts, the right move is to pause, not patch around them. A patched island is how people end up with crooked doors, overheated appliances, or a structure that traps moisture from day one.
What mistakes do people actually make?
The most common mistakes are boring, which is why they keep happening. Each one has a simple alternative.
-
Building the frame before buying the appliances. The consequence is a wrong opening by even 1/2 inch, which can make a grill impossible to seat. The alternative is to build from the exact spec sheet.
-
Skipping diagonal square checks. The consequence is a frame that looks fine until the countertop overhang reveals the error. The alternative is to measure both diagonals and correct before fastening.
-
Using interior materials under a weather finish. The consequence is swelling and soft edges around fasteners. The alternative is exterior plywood, cement board, and weather-rated fasteners.
-
Treating finish cladding as structure. The consequence is a hollow, wobbly island that feels cheap and can crack tile. The alternative is to stiffen the frame first with proper blocking and bracing.
-
Ignoring ventilation and clearances. The consequence is overheated appliances and trapped gas near the grill bay. The alternative is to follow the appliance manufacturer’s vent and spacing requirements exactly.
-
Sealing the top but leaving the bottom open to splash. The consequence is rot starting from the base where you cannot see it. The alternative is a moisture break, sealed seams, and a base detail that sheds water.
A generic article would stop at “frame it, cover it, finish it.” That leaves out the part that actually decides whether the island lasts 3 years or 15: the bottom edge, the service clearances, and the stiffness of the frame under a heavy top.
How long does it take, and what does a good build look like?
A straightforward island structure usually takes a weekend for layout and framing, then another day or two for sheathing, waterproofing, and dry-fitting the top. If you are adding doors, tile, stone veneer, or plumbing rough-in, the project can stretch to a week or more. I would not rush the squaring and drying steps; a few extra hours there are cheaper than redoing finish work later.
A good result has four visible traits. First, the frame stays square when you check it from corner to corner. Second, appliance openings fit without forcing. Third, the structure does not flex when you press on an end or lean on the countertop line. Fourth, the bottom edge is protected from splash and standing water.
If you step back and the island looks straight but the doors bind, the problem is usually not the doors. It is the frame. If the countertop is level but the grill trim does not sit flush, the cutout is off. If the finish looks good for a month and then swells at the base, water entered from below. Those failures tell you exactly where to look.
For a cleaner build, I would also leave inspection access where utilities are present. A removable service panel costs little in materials and saves a lot of pain later. That small design choice is easy to skip and hard to regret.
What to check before you finish
Before you close the island, confirm the frame is square, the appliance openings match the spec sheets, the bottom edge has a moisture break, and the countertop support matches the material’s load requirements. If you are still wondering how build an outdoor kitchen island structure that lasts, the answer is to slow down on the layout, follow the manufacturer measurements, and ask a qualified pro when the project touches gas, electrical, or masonry.