Last updated: October 21, 2026
Key Takeaways
- A drainage plan tells water where to go before you build the outdoor kitchen.
- A patio should slope enough for water to move off the surface, but not so much that chairs wobble or a pizza peel feels unstable.
- Runoff should leave the kitchen through the lowest planned edge, not by cutting across the cooking zone or pooling at the island base.
- Standing water is usually fixed by correcting a low spot, opening a blocked outlet, or adding a drain where water already wants to gather.
Outdoor kitchen drainage: slope, runoff, and standing water fixes is the topic here. It keeps an outdoor kitchen dry where water collects, shifts runoff away from the cooking area, and keeps the concrete slab or paver patio from trapping a shallow puddle after every storm. A good drainage plan usually uses slope, surface grading, and one or two well-placed drains. Consult a professional if the site holds water after rain.
Start with the drainage plan, not the grill
Outdoor kitchen drainage: slope, runoff, and standing water fixes starts with a drainage plan that tells water where to go before you build the outdoor kitchen. Why begin there? Because the counter often goes in first, then the patio gets poured flat, and the first hard rain leaves water sitting beside the island for hours.
The surface matters. A paver patio behaves differently from a concrete slab, and each one needs its own drainage strategy. With pavers, water can slip through the joints and into a base that drains well. On a concrete slab, water stays on top until slope and drains carry it away. So drain placement belongs in the layout, not as a last-minute fix.
Before any base is compacted or any concrete is poured, the drainage plan should answer four questions:
- Where does water come from?
- Where is the lowest point now?
- Where can water leave the kitchen area without running back toward the house?
- What happens during a heavy rain if the surface gets temporarily overwhelmed?
A quick site sketch helps. Mark the outdoor kitchen footprint, the edge of the patio, nearby doors, and anything that sends water toward the area, such as a roofline or a hardscape edge. If the patio is tied to the house, the drainage plan should also account for downspouts. One bad downspout can undo a perfect slope in the patio itself.
Think in layers here. The finish surface is only the top layer. Under it sits the base, and below that sits native soil or a subgrade that may already hold water. If the soil stays wet after storms, a drain in the patio surface alone may not be enough.
A useful rule is simple: if you can see a place where water will pool on the drawing, it will pool in real life. Fix the grade on paper first, then build it. For broader project sequencing, the hub article on Planning an outdoor kitchen project — The Complete Guide belongs right next to this one.
What slope should a patio have for drainage?
A patio should slope about 1/4 inch per foot for drainage, and that is usually enough for outdoor kitchen drainage: slope, runoff, and standing water fixes to work without making the space feel tilted. On a 10-foot run, that creates about 2 1/2 inches of fall. On a 12-foot run, it is about 3 inches.
That number matters because it gives water a clear direction without making the space awkward to use. When the outdoor kitchen sits on a concrete slab, that slope has to be built into the pour or achieved with the finished surface design. With a paver patio, the slope is built into the base before the pavers go down.
Too flat, and standing water lingers. Too steep, and the kitchen gets awkward fast — especially around seating or a prep counter. It can also send runoff straight to a neighbor’s yard or to a doorway, which solves one problem by creating another.
Here is the practical way to set the slope:
- Pick the high side first, usually the side nearest the house or the dry access point.
- Measure the run in feet from that high side to the drainage edge.
- Multiply the run by 1/4 inch to find the total drop.
- Set grade stakes or stringlines to show the fall before the base goes in.
- Recheck the surface after compaction, because compacted gravel can settle a little and change the finished grade.
For a paver patio, the base should already be sloped so the pavers follow it. For a concrete slab, the forms must reflect the same fall before the pour. If the slab is already flat, the fix is usually not cosmetic. A surface overlay may help in some cases, but long-term drainage often needs a corrected grade or an added drain.
I would not use a steep pitch just to “force” water away. A slightly too-flat patio is fixable with drains and grading tweaks. A patio that feels like a ramp causes daily frustration.
How runoff should leave the outdoor kitchen area
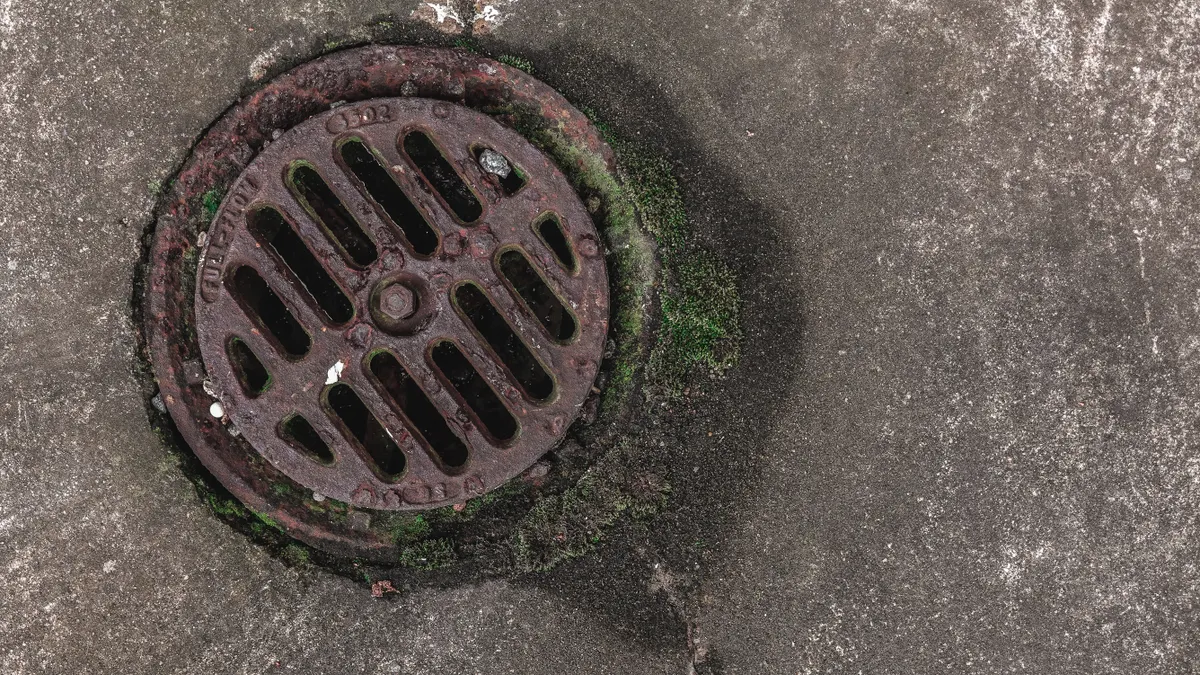
Runoff should leave the kitchen through the lowest planned edge, not by cutting across the cooking zone or pooling at the island base. That exit path is often short and visible, but it should also be tied to a place water can safely spread or enter a drain system.
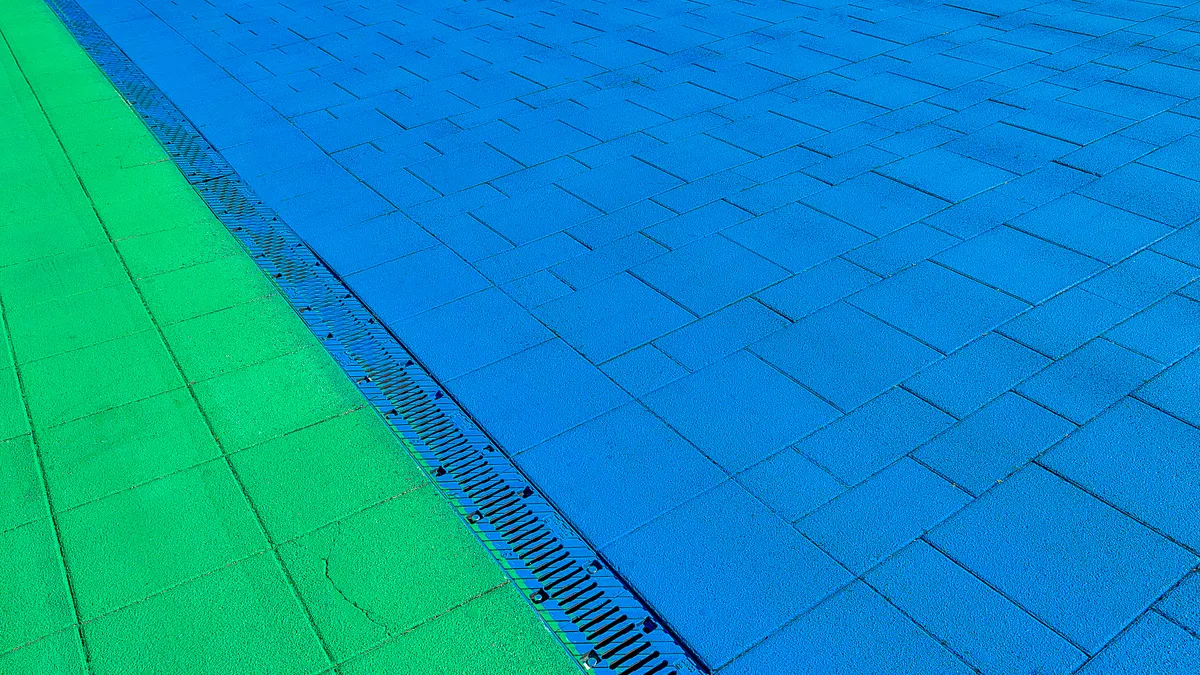
A channel drain is the right tool when water needs to cross a paved threshold or exit from a narrow strip beside the kitchen. It gives surface water a controlled path instead of letting it wander. A french drain is the better choice when the problem is subsurface water or when the soil next to the patio stays wet and pushes moisture back toward the slab. They solve different problems, and using the wrong one wastes time and money.
A channel drain works well along the low edge of a concrete slab, at the mouth of a walkway, or where runoff from a roof or hardscape needs a clean pickup point. It should be set where water naturally travels, not randomly placed in the middle of a dry area. A french drain belongs where groundwater or saturated soil is the real issue, usually outside the main traffic zone.
Drain placement should also respect where the downspout discharges. A roof downspout aimed at the patio can overwhelm even a well-sloped surface. If that downspout stays nearby, it should discharge away from the kitchen area or into an approved drainage route that does not send water back under the island.
A simple hierarchy helps:
- Surface water on a patio: use slope and, if needed, a channel drain.
- Wet soil beside the patio: use a french drain.
- Water dropping from a roof edge: fix the downspout path first.
- Water trapped in a low pocket: regrade the pocket before adding hardware.
The mistake I see most often is trying to solve runoff with a drain before the grade is corrected. That costs more and usually still leaves a damp edge. Drainage hardware is a helper, not a substitute for slope.
If the site sheds water toward the kitchen from uphill ground, the drainage plan may need a shallow swale or a buried drain line outside the patio footprint. That is not the glamorous part of the project, but it is the part that keeps the finish surface usable after a storm.
Standing water fixes that do not require starting over
Standing water is usually fixed by correcting a low spot, opening a blocked outlet, or adding a drain where water already wants to gather. The right fix depends on whether the water sits on top of the surface or comes back from below.
Start by finding the actual pool, not the place where the puddle looks deepest. After rain, water often appears in one visible spot while the real problem is a nearby high ridge or a blocked path that traps it. Mark the edges of the puddle, then watch where it drains as the surface dries.
Use this order before you commit to demolition:
- Clear debris from joints, grates, and drain inlets.
- Check the slope with a 4-foot level or a laser level.
- Look for settlement near the island, at patio edges, and around utility penetrations.
- Raise or rework the low area if the depression is shallow and localized.
- Add a channel drain if the water is moving across the surface but has nowhere to exit.
- Add or repair a french drain if the ground stays soft and seeps into the patio edge.
A shallow dip in a paver patio can often be lifted and re-bedded. A concrete slab is less forgiving. If the slab itself has a bowl-shaped section, the fix may be a surface drainage correction rather than a patch. For a hardscape that is already built, the goal is not perfection; it is a dry surface that clears after rainfall instead of staying wet until the next day.
Standing water under an outdoor kitchen island deserves extra attention. That moisture can keep the base damp, stain finishes, and make the area feel musty. It can also collect around the slab edge if the patio meets the island footprint without enough fall. In that case, the fix is often at the perimeter, not under the island itself.
One honest limitation: if the site has a high water table, badly compacted fill, or no realistic place for runoff to go, a small adjustment will not be enough. Then the drainage plan needs a broader redesign, not another patch.
For layout details on drain types, the Uniform Plumbing Code and the International Residential Code are the kinds of references a contractor may consult when a drainage detail touches plumbing or site work.
Paver patio vs. concrete slab: the drainage differences that matter
A paver patio is usually easier to drain well, while a concrete slab demands more precision from the start. That difference should shape the drainage plan before anyone sets a line or pours material.
Pavers give you two advantages. First, the base can be shaped precisely to create fall. Second, the joints can let a small amount of water move through the surface and into the base below, depending on the system design. That makes pavers forgiving when you need to make a minor slope correction later. They are still not a free pass; the base must drain, or the patio can still hold water.
Concrete slabs are less forgiving because the surface itself does not let water pass through. If the slab is flat or pitched the wrong way, water sits on top until it evaporates or reaches a drain. That is why drain placement is so important on slab projects. A channel drain at the low edge often does more work on a slab than on pavers.
Here is how I would separate the two:
- Paver patio: prioritize base slope, edge restraint, and the route water will take below the surface.
- Concrete slab: prioritize formed slope, drain locations, and clean transitions to surrounding hardscape.
- Both: keep downspouts away from the kitchen zone, and never trap water against the house side.
A paver system can also be easier to repair if one area settles. A concrete slab may need saw cutting, resurfacing, or a more involved correction. That trade-off matters when the outdoor kitchen is part of a bigger backyard plan.
The wrong choice is not always the material; it is the drainage assumption. People often assume pavers “drain themselves” or that concrete can be made dry later with a surface fix. Neither is true by itself. The drainage plan has to match the material and the site.
Common drainage mistakes that create bigger problems
The most common drainage mistakes are flat grading, bad drain placement, and letting a downspout discharge near the kitchen. Each one creates a different kind of cost, and each one has a better alternative.
Flat grading costs you in standing water. A patio that looks level to the eye can still hold a thin sheet of water after a storm if it lacks enough slope. Better to set the grade early and check it from multiple directions, not just front to back.
Bad drain placement costs you in maintenance. A channel drain set too far from the low point catches little water and clogs with debris before it solves the problem. Put it where runoff actually travels, then keep the grate accessible for cleaning.
Ignoring the downspout costs you in repeat failures. A patio can be beautifully sloped and still stay wet if roof water is dumped onto it from above. Move the downspout route first, or the rest of the drainage work becomes a patch over a bad source.
Using a french drain where the real problem is surface water costs you time and trenching with little payoff. A french drain belongs where the soil is the issue, not where a visible sheet of water needs a pickup point.
A few smaller mistakes show up a lot:
- Filling a low spot with surface patch material instead of correcting the underlying grade.
- Letting patio edging block a needed runoff path.
- Building the kitchen footprint before confirming where water will exit.
- Assuming a dry day means a dry site.
This is the part of the project where patience saves money. Water follows gravity, not the plan on paper. If the slope, runoff route, and standing water fixes all point in the same direction, the kitchen stays usable after rain instead of becoming a wet zone you work around.
Does an outdoor kitchen need drainage?
Yes, an outdoor kitchen needs a drainage plan that keeps water from pooling around the cooking and prep area. A paver patio, concrete slab, or built-up base can all trap water if the slope is wrong or runoff has nowhere to go. The plan should include surface grading and, where needed, a channel drain, french drain, or downspout correction.
How do I stop water pooling under an outdoor kitchen?
Stop water pooling under an outdoor kitchen by correcting the grade first, then adding drainage hardware only where it solves the remaining problem. A shallow low spot may need regrading, while a persistent wet edge may need a channel drain or french drain. If a downspout points toward the area, reroute it before anything else.
What slope should a patio have for drainage?
A patio should generally slope about 1/4 inch per foot for drainage. That gives runoff a clear direction without making the surface feel noticeably tilted. On a concrete slab, the slope has to be built into the pour or finish. On a paver patio, the slope should be set in the base before the pavers are installed.
Drafted with AI; not yet reviewed by a person.