Last updated: September 10, 2026
Key Takeaways
- None of that is glamorous, and most of it is preventable with 30 to 60 minutes of deliberate work.
- Covering damp surfaces is how you trap mold and mildew.
- It is how a small maintenance job becomes a repair job in spring.
- If a drawer slide or hinge already shows red rust or pitting, replace it now.
Winterizing an outdoor kitchen means shutting down how to winterize an outdoor kitchen so pipes, burners, cabinets, and surfaces survive freezing weather without cracking, rusting, or mold damage. Gas, water, and a built-in refrigerator outside? I’d treat that as a real seasonal task, not a quick cover-and-forget chore. And if a step is unclear, consult the appliance manual or a licensed professional.
Table of Contents
- Who this applies to, and what I’m assuming you already have
- How do I winterize an outdoor kitchen?
- What should I do before the first hard freeze?
- The mistakes that cause most winter damage
- When should I stop and get help instead?
- What changes in cold, wet, or coastal climates?
- How do I know it’s winterized properly?
Who this applies to, and what I’m assuming you already have
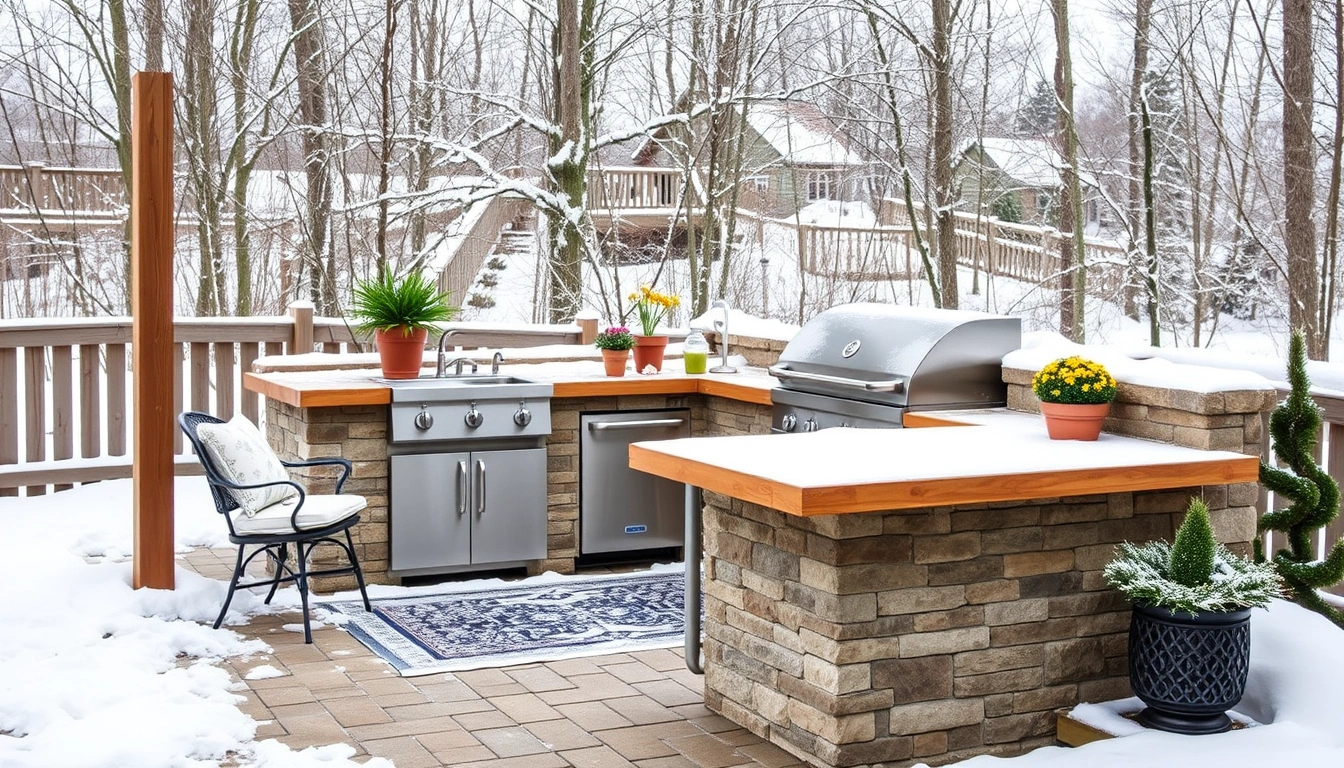
This guide applies if your outdoor kitchen includes any mix of a grill, side burner, sink, icemaker, refrigerator, storage drawers, stone or stainless counters, and hard plumbing for gas or water. You should already know where the shutoff valves are and be able to reach the equipment safely. A simple cart grill with no plumbing? Much smaller job. But once you have a plumbed sink, a gas manifold, a built-in refrigerator, or any appliance with a manufacturer’s service panel, the stakes jump because trapped water and leftover pressure are what usually cause the expensive damage.
I’m not going to pretend every setup is equal. Buried gas lines, complex electrical work, propane conversion questions, or a drain tied into the house all justify a licensed pro before you start. A freestanding gas grill on wheels is one thing; a masonry kitchen with an icemaker line is another. For a typical homeowner with normal access panels, a hose bib, and a basic toolkit — adjustable wrench, screwdriver, bucket, towels, flashlight, and foam pipe insulation if the plumbing runs through exposed areas — the standard approach below fits. If you have buried gas lines, complex electrical work, propane conversion questions, or a drain system that is tied into the house, the “do it yourself” line gets thin fast. In those cases, anything you cannot isolate cleanly should be left to a licensed pro or the appliance installer. That is not me dodging the task; it is the difference between draining a line and creating a leak.
Most generic writeups miss the hidden failure points. The low spot in the water line that holds a few ounces. The rubber hose that splits after one deep freeze. The refrigerator condenser compartment packed with leaves. The drawer slides that seize because moisture sat in them for four months. The gas valve that was never fully closed. Ugly little stuff. Those are the parts I’d hit first. The goal is not “cover it and hope.” It is to remove water, protect finishes, and leave every system either fully off or safely configured for cold weather.
How do I winterize an outdoor kitchen?
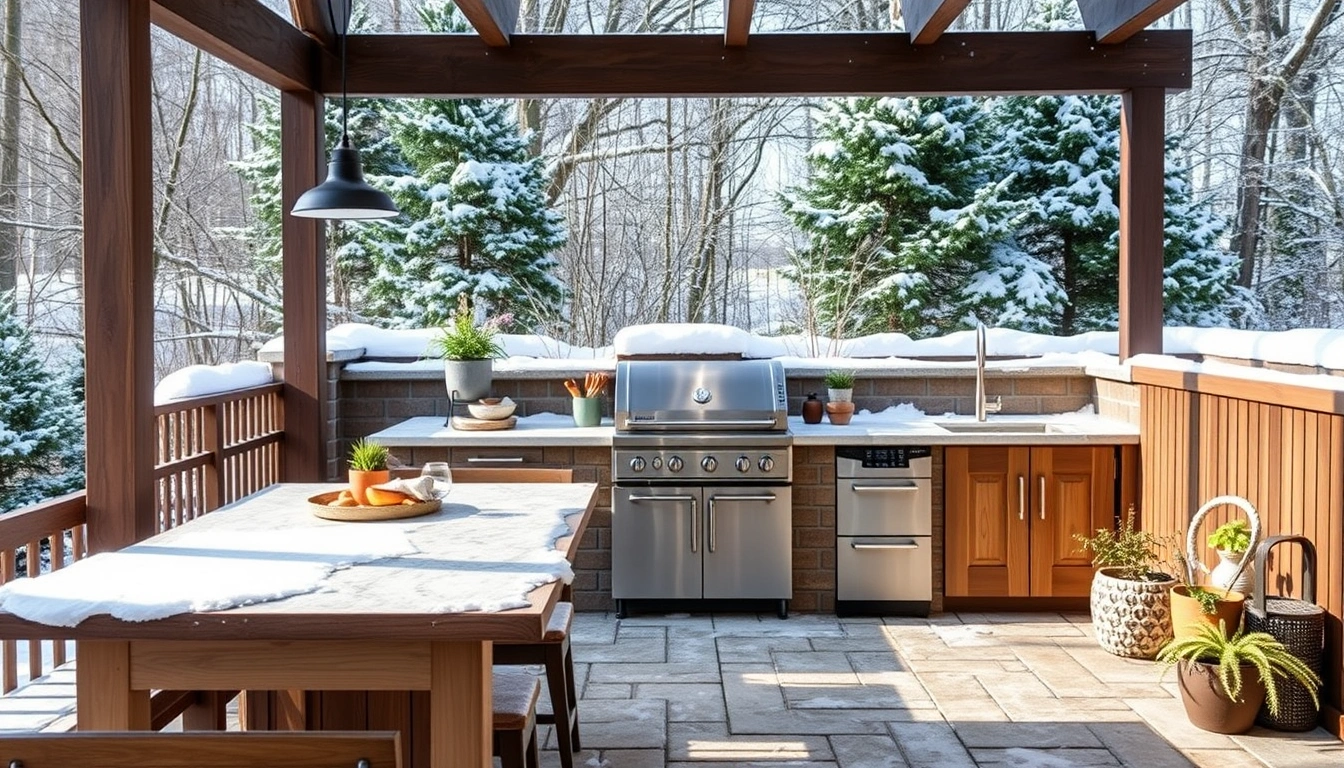
You winterize an outdoor kitchen by shutting off utilities, draining every water-carrying part, cleaning off food residue, protecting exposed materials, and securing appliances so freeze-thaw cycles do not damage them. I’d follow the sequence below in order; it matters because draining before you disconnect power, or covering before you dry the surfaces, just traps problems inside.
- Shut off water at the supply valve and confirm the line is dead. Close the main shutoff for the outdoor kitchen or the dedicated branch valve, then open the sink faucet or test spigot until the flow stops completely. Verify that pressure bleeds off in under 30 seconds and that no drip returns after you close it. If water still sneaks through, the valve is not sealing and you need that fixed before freezing weather.
- Turn off and isolate gas appliances. Close the propane cylinder valve or the natural-gas shutoff at the manual valve, then disconnect portable tanks if the manufacturer allows it. Verify that burner knobs are in the OFF position and that no smell of gas remains. If you smell gas after closing the valve, stop there; that is a leak, not a winterizing step.
- Disconnect electricity to the outdoor kitchen circuit if it is on a dedicated switch or breaker. Turn off the breaker serving outlets, refrigerator, lighting, or igniters, and tag it if other people use the property. Verify that the refrigerator light, outlet tester, or control panel stays dark. If any component still has power, do not assume the switch is enough; find the circuit and kill it at the panel.
- Drain the sink, faucet, icemaker line, and any supply tubes. Open drain plugs, remove aerators if the manufacturer recommends it, and let low points empty into a bucket. If you have a p-trap under the sink, empty it or have it removed so it does not split from ice. Verify that no water remains in hoses or valves by tilting removable sections and watching for drips. Any trapped pocket of water is a freeze risk.
- Flush and dry the plumbing line, then add non-toxic antifreeze only where the manufacturer permits it. In drain lines or traps that are designed for it, use RV/boat antifreeze, which is typically propylene-glycol based, not automotive antifreeze. Verify the product is labeled for potable-water systems and follow the container instructions rather than guessing. If the system is not designed for antifreeze, do not pour it in “just to be safe”; that can create contamination or service issues.
- Clean every cooking surface, vent, drip tray, and cabinet interior. Scrape grates, empty grease trays, wipe burners, and vacuum out crumbs, insects, and leaves. Verify that no grease film remains on stainless or stone edges, because that film hardens and attracts dirt. A greasy winter shutdown often turns into spring pests and stuck drawer hardware.
- Dry all surfaces thoroughly before covering. Leave doors, drawers, and access panels open for several hours on a dry day, or use towels and a fan to speed the process. Verify that hinges, seals, and seams are visibly dry, especially around trim and seams where water hides. Before you cover the kitchen, make sure those surfaces are dry; covering damp surfaces is how you trap mold and mildew, and if drying is difficult, consult a professional.
- Cover the kitchen with a breathable, fitted cover and secure it against wind. Choose a cover sized for the whole layout, not a loose tarp that flaps against sharp corners. Verify that air can move enough to prevent condensation while rain and snow are blocked. If the cover pools water or traps moisture, it is the wrong cover, and if your layout has gas, water, or a built-in refrigerator outside, confirm the setup with the manufacturer or a professional first.
That sequence works because it handles the three things winter breaks: water, grease, and exposed materials. It also leaves room for the appliance manual, which matters more than blog advice on specific items like a built-in pizza oven or undercounter refrigerator. If your manual calls for different shutdown steps, follow the manual first.
What should I do before the first hard freeze?
Finish the shutdown before the first night that drops below 32°F. Honestly, I’d target a week earlier if your kitchen has exposed plumbing. Water left in a low point does not care that the rest of the line was drained. One cold snap is enough to split a fitting or crack a valve body. That math stops working fast.
Walk the whole installation in daylight. Open every cabinet and inspect the underside of sinks, the back of the refrigerator compartment, the gaps around the grill cutout, and any place where a hose disappears into framing. Look for four things: standing water, rust staining, rodent access, and broken seals. A 1/8-inch gap at the base of a cabinet is an open door for pests, and a torn gasket around an access panel lets cold air in all season. Sneaky little gap. Big trouble.
If your kitchen includes a refrigerator, check whether the manufacturer allows outdoor winter storage with power off. Some units can remain outside if they are dry and closed up; others need to be cleaned, unplugged, and propped open 1 to 2 inches so mold does not grow inside. That small opening matters because it allows stagnant air to move. If the door gasket is stiff or cracked, replace it now rather than letting moisture in all winter.
For masonry or stone surrounds, watch the grout joints and caulk seams. Exterior-grade sealants fail at seams before they fail across flat surfaces. If caulk has pulled away from a countertop joint, water can sit there, freeze, and push the joint open wider. Not cosmetic. That is how a small maintenance job becomes a repair job in spring.
Finally, clear the roof or cover area above the kitchen if branches or leaves can dump water into it. A clean cover sheds snow better than a pile of wet debris. The job is not finished when the equipment is off; it is finished when the whole assembly is set up to stay dry for 3 to 5 months without attention.
The mistakes that cause most winter damage
The biggest mistakes are not dramatic. They are ordinary, which is why people repeat them. I’d avoid these five:
Leaving water in the p-trap or supply hose: that trapped water freezes, expands, and cracks the plastic or metal — drain the trap fully or remove it if the system is built that way.
Using a vinyl tarp instead of a fitted, breathable cover: a tarp holds condensation and abrades finishes in wind — use a cover that sheds water but still lets moisture escape.
Closing up a dirty grill or greasy drawer bank: residue hardens, attracts mice, and stains stainless — clean and dry the surfaces before any cover goes on.
Ignoring the refrigerator or icemaker line because the grill is the “main” appliance: those smaller lines often fail first because they are easier to forget — unplug, drain, and leave the door ajar if the manufacturer allows it.
Shutting off the gas but leaving the knobs set to ON: that creates confusion in spring and can waste time during restart — turn every burner knob fully to OFF and verify it visually.
Assuming “indoor” hardware will be fine outside: drawer slides, hinges, and outlet covers corrode faster in wet, salty, or windy climates — coat only if the manufacturer approves it, and replace parts that are already pitted.
The cost of these mistakes is usually a split line, warped door, dead igniter, rusted burner, or moldy cabinet. None of that is glamorous, and most of it is preventable with 30 to 60 minutes of deliberate work.
When should I stop and get help instead?
Stop when the outdoor kitchen has a condition that makes a normal homeowner shutdown unsafe or incomplete. The rule is not “never DIY”; it is “do not fake certainty where you do not have it.”
Buried gas piping with no clearly labeled shutoff: that means you may not be able to isolate the appliance safely — have the gas service inspected before winterizing.
Persistent gas odor after closing the valve: that suggests a leak or valve failure — stop using the appliance and get the line checked immediately.
Water line that keeps dripping after the supply valve is closed: that means the valve is not sealing or another branch is feeding it — repair the shutoff before freeze season.
Built-in refrigerator or icemaker with an unclear winter procedure: that appliance can be damaged by the wrong shutdown sequence — follow the manufacturer’s service instructions or schedule service.
Cracked stone, loose tile, or failing grout around a sink or countertop seam: water intrusion may already be in the assembly — repair the envelope before cold weather makes the damage worse.
Electrical outlets, switches, or lighting with corrosion or heat damage: that is not a winterizing issue anymore — get the circuit inspected rather than relying on the breaker alone.
If any of those are present, winterizing becomes part maintenance, part repair. The consequence of pushing ahead is not just a bad shutdown; it can be a gas leak, frozen plumbing, or electrical trouble. Rather than pretending the job is routine, stop and get the right help when the equipment makes the shutdown uncertain.
What changes in cold, wet, or coastal climates?
The standard approach still works, but the details change if you deal with repeated freeze-thaw, high humidity, or salt air. In a climate with hard freezes, I’d be stricter about draining every low point and disconnecting anything that can hold even a few tablespoons of water. In a damp coastal area where the temperature rarely gets deeply below freezing, the bigger risk is corrosion and mildew, not burst pipes, so ventilation and cleaning matter more than antifreeze.
For freeze-thaw climates, check the framing beneath the sink and around any stone veneer. If moisture gets into a cavity and freezes, it can pop tile or open joints by spring. A 1/4-inch caulk failure at a corner can become a much bigger repair after several cycles. In those regions, I would inspect seams again in late fall and touch up exterior-grade sealant where it has shrunk or pulled away.
For coastal kitchens, salt residue is the problem you cannot see in a single day. Rinse stainless surfaces, dry them, and use a breathable cover that does not trap salty moisture. If a drawer slide or hinge already shows red rust or pitting, replace it now. Surface corrosion is a warning, not a badge of age. A badly corroded component usually gets worse over a 90-day winter, not better.
For mild climates with only occasional frost, I still would not skip the water shutdown if the kitchen has a sink. A single cold event can damage a line that sat full for months. What you can often simplify is the cover: if you have good drainage and a covered patio, a lighter protective cover may be enough. If the kitchen is fully exposed, use the more protective setup.
How do I know it’s winterized properly?
It is winterized properly when no water is trapped, no gas is left open, every appliance is off, and the kitchen stays dry under cover for the season. I’d treat this as a pass/fail checklist, not a vague feeling, and if you are unsure about any step, consult the appliance manual or a professional.
A good result looks like this: the sink opens with no pressure behind it, the p-trap is empty or removed, the refrigerator is unplugged and dry, the grill is clean, burner knobs are OFF, drawers move freely, and the cover sits snugly without pooling water. If you return after a rain and find condensation inside the cabinets, the enclosure is still too wet or too closed up.
You should also be able to reopen the kitchen in spring without surprises. That means no musty smell, no stiff valves, no green corrosion on fittings, and no cracked hoses. Before spring use, inspect all gas, water, and electrical connections again, because winterization is only half the job; safe restart matters too.