Last updated: September 10, 2026
Key Takeaways
- A pool, spa, or outdoor shower means the plan gets more eyes on it.
- Add a wood-burning feature, and the rules shift again.
- Assuming an outdoor kitchen is “just a patio upgrade” is the big trap.
- Rooftop deck and balcony kitchens are a different animal altogether.
Quick Answer: most homeowners need 1 to 4 permits for an outdoor kitchen, depending on gas, electrical, plumbing, and whether the structure is roofed. This outdoor kitchen permitting guide for homeowners explains when that happens, what the permit office wants, and where projects slow down.
Most outdoor kitchens need permits if they include gas, electrical, plumbing, a new patio slab, or a roofed structure; a simple grill pad with no utility tie-ins is the rare case that may not. I’m going to show you how to tell the difference, what your building department will want to see, and where homeowners get bogged down in this outdoor kitchen permitting guide for homeowners.
Who this applies to, and what I’m assuming you already have
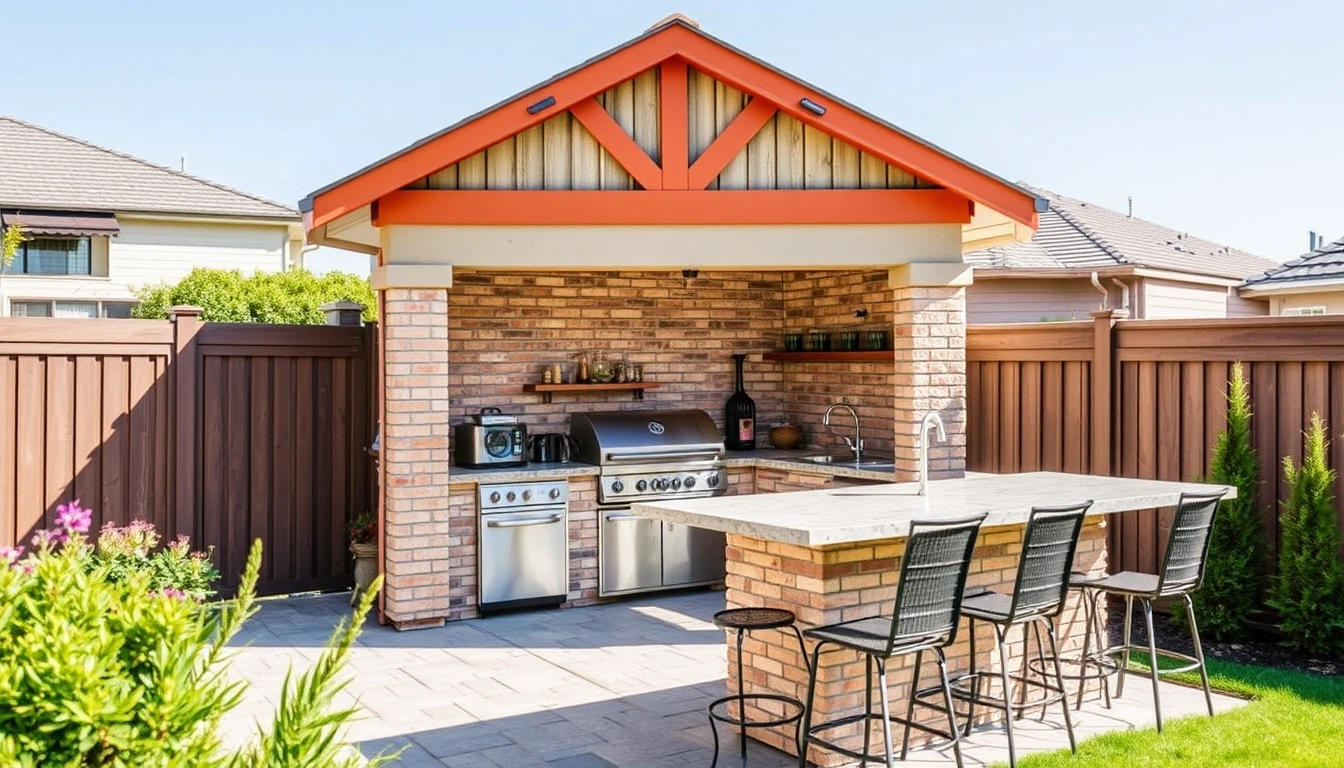
This outdoor kitchen permitting guide for homeowners applies to a homeowner planning a permanent or semi-permanent outdoor kitchen in a backyard, patio, pool area, or terrace. I’m assuming you already know the rough layout you want: grill, sink, burners, fridge, maybe a bar top, and you are trying to figure out whether the project needs a building permit, a plumbing permit, an electrical permit, a gas permit, or all four. I’m also assuming the space is attached to an existing house or sits on a residential lot, not on a commercial property.
Portable grills on wheels, small freestanding prep carts, and tabletop appliances that plug into an existing outdoor-rated receptacle are outside this scope. Those setups may still face local rules, but they usually do not trigger the same permit path as a built-in kitchen with a sink, framed enclosure, permanent gas line, or hardwired appliances.
I’m not treating this as a purely decorative patio project either; once you add gas, 20-amp outdoor circuits, drainage changes, or a slab, check with a licensed contractor or your local building department before you build. The exact rules depend on your city, county, and sometimes your homeowners’ association.
Two standards show up often in permit review even when homeowners never see them directly: the National Electrical Code, usually referred to as NEC, and the International Residential Code, or IRC. Local amendments matter too. If your city uses a unified permit portal, the reviewer may ask for a site plan at 1/8 inch = 1 foot scale, a dimensioned layout, and equipment cut sheets before they issue anything. For code context, see the International Code Council and the U.S. Consumer Product Safety Commission.
Do you need a permit for an outdoor kitchen?
Yes — in most cases you need at least one permit if the kitchen is built in, wired, piped, or roofed. The safe rule is plain: if you are adding utilities or a fixed structure, assume permits are required until your local building department says otherwise.
Here is the practical split I use. A basic masonry or framed outdoor kitchen shell with no utilities might need a building permit because it is a permanent structure. Add a sink, and plumbing usually enters the picture. Add a refrigerator, task lighting, outlets, or an exhaust hood, and electrical permits are likely involved. Add natural gas or propane piping beyond a quick-connect appliance hose, and you may need a gas permit and inspection. Add a roof, pergola with structural loads, or attachment to the house, and plan on structural review.
What people miss is that permits are often separate. One project can require a building permit, electrical permit, plumbing permit, and mechanical permit if you install a vent hood or other ventilation equipment. A municipality may combine them under one application, but the review still happens by trade. Skip one trade permit and you can still get stopped at final approval. Ugly, but true.
I would treat three things as strong red flags that often justify a permit call before work starts: a slab thicker than a simple patio pad, any trenching for utilities, and any fixed appliance tied to a fuel or electrical line. Those are common failure points that can lead to stop-work orders, inspection delays, or having to open finished walls and hardscape later.
For authoritative code context, I would start with the International Code Council’s IRC and NEC references, then check your city or county permit page. The details are local, but the categories are not. For equipment and safety guidance, the IRC and CPSC are useful starting points.
What your permit office will usually ask for
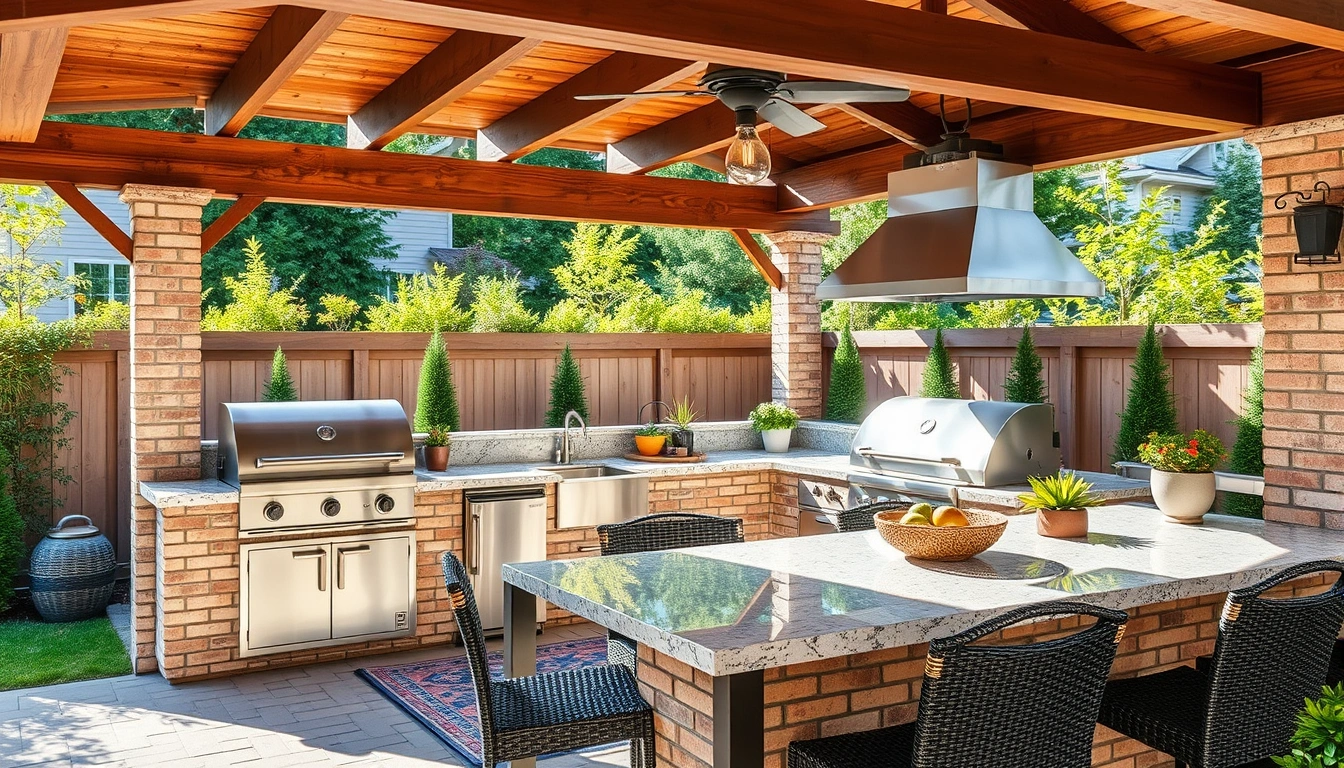
Your permit office usually wants a site plan, a dimensioned layout, equipment specs, and utility details before it can approve an outdoor kitchen. If the department does not ask for all of these upfront, it often asks for them after a first review, which is slower.
A solid permit packet is not fancy. It is clear. I would prepare these items before filing:
- A site plan showing the house, property lines, easements, setbacks, and the outdoor kitchen location.
- A dimensioned kitchen plan showing overall footprint, appliance locations, clearances, and walkway widths.
- Manufacturer cut sheets for the grill, refrigerator, sink fixture, hood, fire feature, and any gas appliance.
- Electrical load information, including voltage, amperage, and whether outlets are GFCI-protected and weather-resistant.
- Gas information, including fuel type, line size, shutoff location, and BTU load if your jurisdiction asks for it.
- Structural details if there is a roof, canopy, attached pergola, or masonry enclosure.
The most common reason a homeowner gets a “corrections required” notice is not bad intent; it is missing dimensions. Reviewers need to know how far the kitchen sits from a property line, whether an outlet is close enough to the sink to violate clearance rules, and whether a roofed structure changes fire separation or snow load requirements. A pretty rendering won’t carry the day.
I would also check setback and easement issues before filing. A kitchen can be structurally sound and still fail if it lands in a utility easement, too close to the property line, or inside a drainage path. On a corner lot, driveway visibility rules can matter too. If your lot has a recorded easement, another office or utility provider may also need to review it.
Pool, spa, or outdoor shower nearby? Expect more scrutiny. Electrical bonding and separation rules can change the layout, and the whole thing can snowball fast. That is one of those cases where a “small” addition changes the permit path in a big way. For pool-adjacent work, check local setback and bonding rules before filing.
How to get the permit, step by step
You get the permit by defining the scope, checking local rules, preparing a complete submittal, and passing separate inspections for each trade. The process is manageable if you treat it like a sequence, not a guessing game. If the project is complex, consult a licensed designer, contractor, or permit expeditor before you submit.
- Write the scope in one sentence. State exactly what is being built: for example, “12-foot masonry outdoor kitchen with gas grill, sink, refrigerator, two GFCI receptacles, and a roofed pergola.” Make sure every item on the list is real and fixed. When you cannot tell whether plumbing, electrical, or gas work is involved, the scope is not complete.
- Measure the site before you draw anything. Record property lines, setbacks, existing slab edges, doors, windows, and utility locations to the nearest inch. Check clearances to any structure, fence, or easement. If the kitchen only fits by crossing a setback or easement, stop there; the layout is wrong.
- Call or check the permit portal for your jurisdiction’s required permits. Ask whether building, electrical, plumbing, mechanical, and gas permits are separate applications. Check whether your area accepts homeowner permits or requires a licensed contractor for gas or electrical work. If the office says “no permit needed” for a project with utilities, get the answer in writing or through the portal note.
- Prepare the drawings at a readable scale. A common residential scale is 1/4 inch = 1 foot for plan views and 1/8 inch = 1 foot for larger site plans. Show dimensions, appliance clearances, door swings, and the location of shutoffs. Make sure the plan identifies each appliance by model or type. If the reviewer cannot tell where the gas shutoff sits, expect a correction notice.
- Attach product cut sheets and utility data. Include manufacturer specs for the grill, refrigerator, sink, hood, and any burner. Check fuel type, electrical rating, and installation clearances against the plan. If the grill requires a minimum side clearance the enclosure does not provide, the design fails before permit submission.
- File the applications and pay the fees. Submit all required permits together when possible so one trade does not outpace another. Verify that the application names match across the building, electrical, plumbing, and gas permits. If the city sees mismatched scope, you may be sent back to restart the record.
- Wait for plan review and answer corrections precisely. If the reviewer asks for a setback dimension, a structural detail, or a gas pipe size, answer that exact item rather than uploading a new unlabelled sketch. Make sure every correction shows up in the revised drawings. If you keep changing the layout during review, the clock resets in practical terms.
- Book inspections in the right order. Rough electrical, rough plumbing, and gas pressure tests usually happen before finishes close the work. Verify that any required pressure test, bonding check, or GFCI test is ready before the inspector arrives. If finishes are installed before rough approval, that is a problem that can force demolition.
A good result is not just “permit approved.” It is a kitchen that passes rough and final inspections without opening finished stone, tile, or stucco. That saves time, money, and argument with the inspector. In many cities, one failed inspection adds 7 to 14 days.
What could stop your project before it starts?
Your project should stop or change course if the site, scope, or utility plan makes code compliance unlikely. That is not failure; it is cheaper than building the wrong thing and fixing it later.
Gas line routing crosses a prohibited area: It means the line would run where the code or local rule does not allow it, such as too close to an opening or through an unapproved structure — redesign the route or move the appliance.
Electrical service is already maxed out: It means the panel cannot safely support the added load for a fridge, lighting, outlets, or a hood — add capacity or simplify the appliance list.
The kitchen lands in a setback or easement: It means the location may violate property rules even if the kitchen itself is well built — shift the footprint before filing.
You want a roofed structure attached to the house: It means structural and sometimes fire review becomes more complex than a detached island — get drawings before construction.
You plan to pour a new slab or extend existing hardscape over poor soil or drainage: It means the base may crack, settle, or redirect water toward the house — revise the foundation plan first.
You are unsure who is doing the gas or electrical work: It means the permit may require licensed trades or specific signatures — confirm that before buying materials.
I would also stop if the local office tells you your project counts as a “structure” rather than just an appliance pad. That distinction changes setbacks, frost footing requirements, and inspection expectations. In some places, a simple kitchen shell can trigger the same review path as a small outbuilding.
If your outdoor kitchen includes a wood-burning feature, the rules can change again. Clearances, spark protection, and chimney or vent requirements may apply. At that point, check the local code language before anything is framed. For wood-burning appliances, local fire code review may also apply.
The mistakes homeowners make, and what they cost
The biggest mistake is assuming an outdoor kitchen is just a patio upgrade. It is often a multi-trade construction project, and that mistake can cost weeks in review time and extra labor to reopen finished surfaces.
- They apply for only one permit. The consequence is a partial approval that still fails final inspection because gas, plumbing, or electrical work was never permitted. The right move is to list every trade from the start.
- They draw the kitchen without real dimensions. The consequence is a correction notice, then a second submission. The right move is to dimension the footprint, appliance clearances, and setbacks in inches and feet.
- They buy appliances before checking clearances. The consequence is a grill or refrigerator that does not fit the enclosure or violates manufacturer instructions. The correct move is to select equipment after the rough layout is set.
- They place utilities after the finishes. The consequence is cutting stone, tile, or stucco to add a needed shutoff, outlet, or cleanout. The right move is to rough in all utilities before finishes.
- They ignore drainage and slope. The consequence is water pooling around appliances or running toward the house. The correct move is to plan slope away from structures and keep drains accessible.
- They skip inspection sequencing. The consequence is failing final approval because concealed work was never signed off. The right move is to schedule rough inspections before walls and countertops are closed.
I would be especially careful with prefab island kits that claim to simplify the process. Some are fine, but the cabinet shell does not erase local permit requirements. If it is wired, piped, or anchored, it still needs to be reviewed like any other permanent installation. A kit can save 1 to 2 weeks of build time, but it does not remove review time.
Outdoor kitchen permitting guide for homeowners: where the standard advice breaks down
Standard advice breaks down when the project is tiny, unusually large, or built in a constrained site. Those edge cases need a modified approach, not a slogan.
A portable grill on a rolling cart usually does not need a building permit, but the moment you add a hardwired outlet nearby or a fixed gas connection, the project changes category. A homeowner who starts with “just a grill area” and later adds a sink is not really doing a small project anymore. I would treat the sink as the point where plumbing review becomes likely, and local rules can require a permit at that stage. If you are still changing the layout, consult the plumbing inspector before you pour the slab.
A rooftop deck or balcony outdoor kitchen is another different animal. Weight limits, waterproofing, guardrails, and penetration details matter more than cabinet style. That is not a casual DIY scope. If the space sits above occupied rooms, structural review becomes essential. Waterproofing details and guardrail heights can be reviewed before any finish work starts.
On sloped lots, drainage can be the real permit issue. A kitchen that looks perfect on paper can fail if runoff heads toward a basement wall or creates standing water under appliances. In that case, the right fix might be a swale, drain, or raised base, not a bigger countertop.
If you are in a wildfire-prone area, wood framing