Last updated: September 10, 2026
Key Takeaways
- Two cooks need elbow room. 42 to 48 inches is far easier to live with.
- Drop the aisle under 30 inches, and the plan feels tight even when the counters look roomy.
- For an L-shaped layout with seating nearby, I would rather see 10 by 12 feet or more.
- 36 inches is the floor. 42 inches is better, if your budget and footprint allow.
An outdoor kitchen layout works only when it matches your cooking habits, your yard, and the way people really move through the space. This guide on how to plan an outdoor kitchen layout for your backyard shows how to plan around the grill, prep space, storage, utilities, and traffic flow so you do not end up with a patio that looks impressive and cooks badly. Pretty. Useless.
Who this is for — and who should do something else
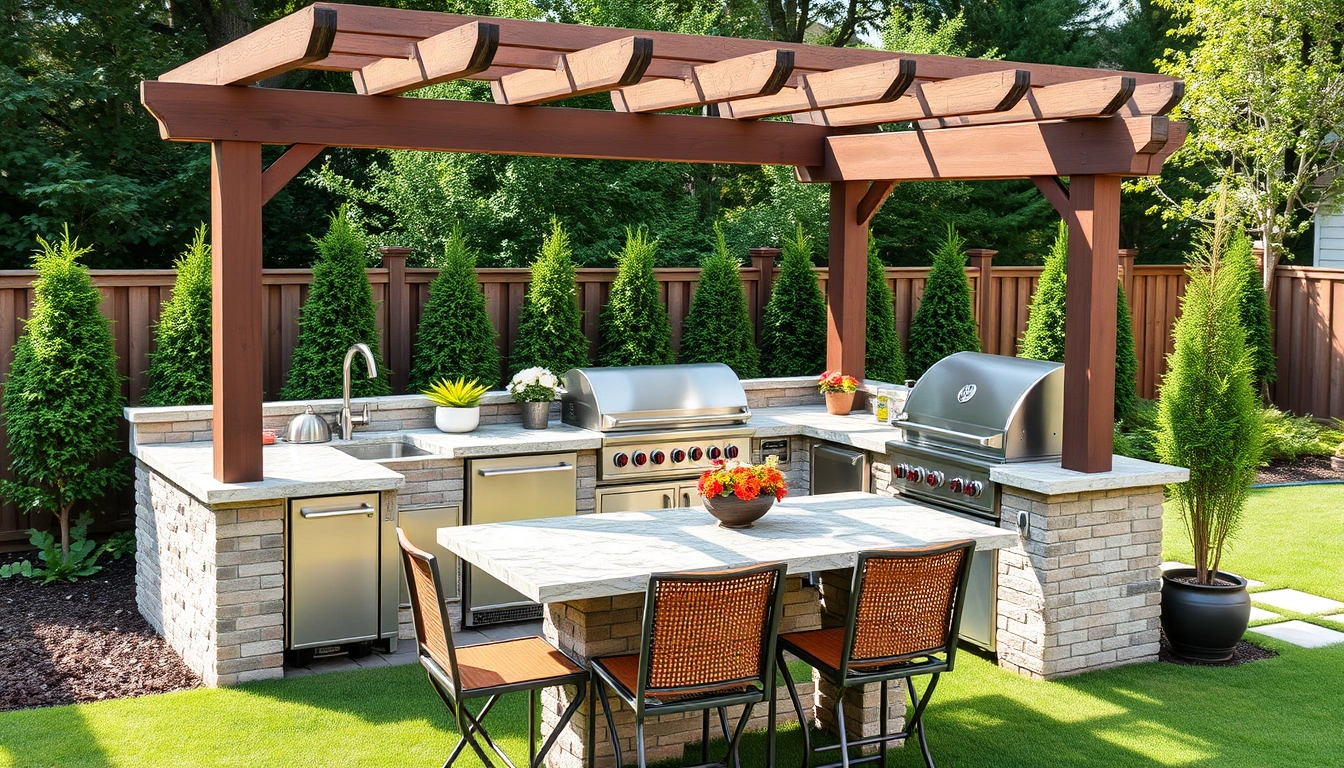
This is for a homeowner planning a backyard cooking zone around a grill, sink, fridge, pizza oven, or simple prep counter, usually on a patio, deck, or hardscape pad at least 8 by 10 feet. I’m assuming you already know the rough spot you want to use, and you can measure the space with a tape measure and sketch it on graph paper or in a basic floor-plan app. Simple enough, right?
Not for everyone, though. It is not for someone who wants to build under a roof without checking local building rules, electrical requirements, or gas line work. The layout part is a homeowner job; the utility runs and permanent structure details often are not. If you are adding a sink, a refrigerator, or a built-in grill connected to natural gas, the layout should be done with those systems in mind from the start, because moving them later is expensive and often awkward. I would stop short of DIY if the only available space is a narrow strip under 6 feet deep, because circulation becomes the whole problem and the cooking zone usually loses.
What matters most? How the pieces work. Not how they look in a catalog. Start with function, then fit the function to the footprint. That means deciding where heat goes, where prep happens, where the trash lives, where guests stand, and how far each station is from the next. Get those five things right in the first pass, and the rest is selection, not rescue.
What should go where in an outdoor kitchen layout?
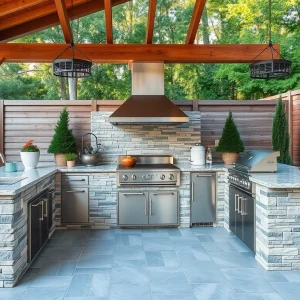
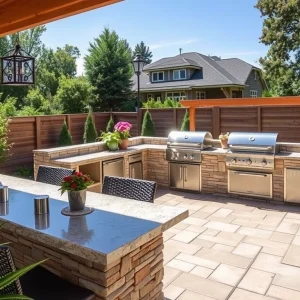
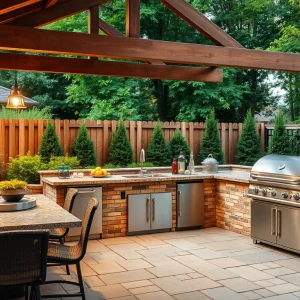
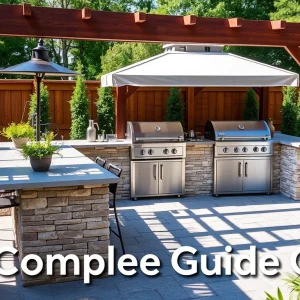
The grill, prep counter, sink, refrigerator, storage, and trash should be arranged so hot, wet, cold, and messy tasks do not collide. In practical terms, I plan them as a work triangle or work line, depending on shape. A work triangle is the path between the main cooking, washing, and cold-storage points; in an outdoor kitchen, it often becomes a short line instead of a perfect triangle.
Start with the grill. It drives the whole setup. A built-in grill usually needs clear space around it, and many manufacturers specify exact side and rear clearances in the installation manual. Even when the manual allows tight spacing, I would still leave enough room for an open lid, a resting tray, and a person turning with a hot pan. A counter depth of about 24 to 30 inches is common for prep zones, while a main aisle should usually be at least 36 inches wide so one person can pass without brushing the cook. Two cooks? 42 to 48 inches is much easier to live with.
Put the sink near prep, not stranded at the edge of the layout. That keeps rinsing, handwashing, and cleanup in one place. Put the refrigerator close enough that you do not cross the entire patio for a drink, but not so close that the door swing blocks the cook. Trash should be reachable from prep and from the grill, because raw packaging, peels, and foil pile up fast. Honestly, I would rather have a small pull-out trash drawer than a large can parked in the walkway.
If you want a pizza oven or smoker, treat it as a separate heat zone and confirm the clearances in the manufacturer instructions; if the equipment or site is unusual, consult a qualified designer or installer before you finalize the plan. A pizza oven often needs more surrounding landing space than people expect, and a smoker needs room for door swing and service access. The wrong move is squeezing both beside a grill and hoping the layout will sort itself out. It won’t. Like trying to fold a ladder into a broom closet.
How do I plan the layout step by step?
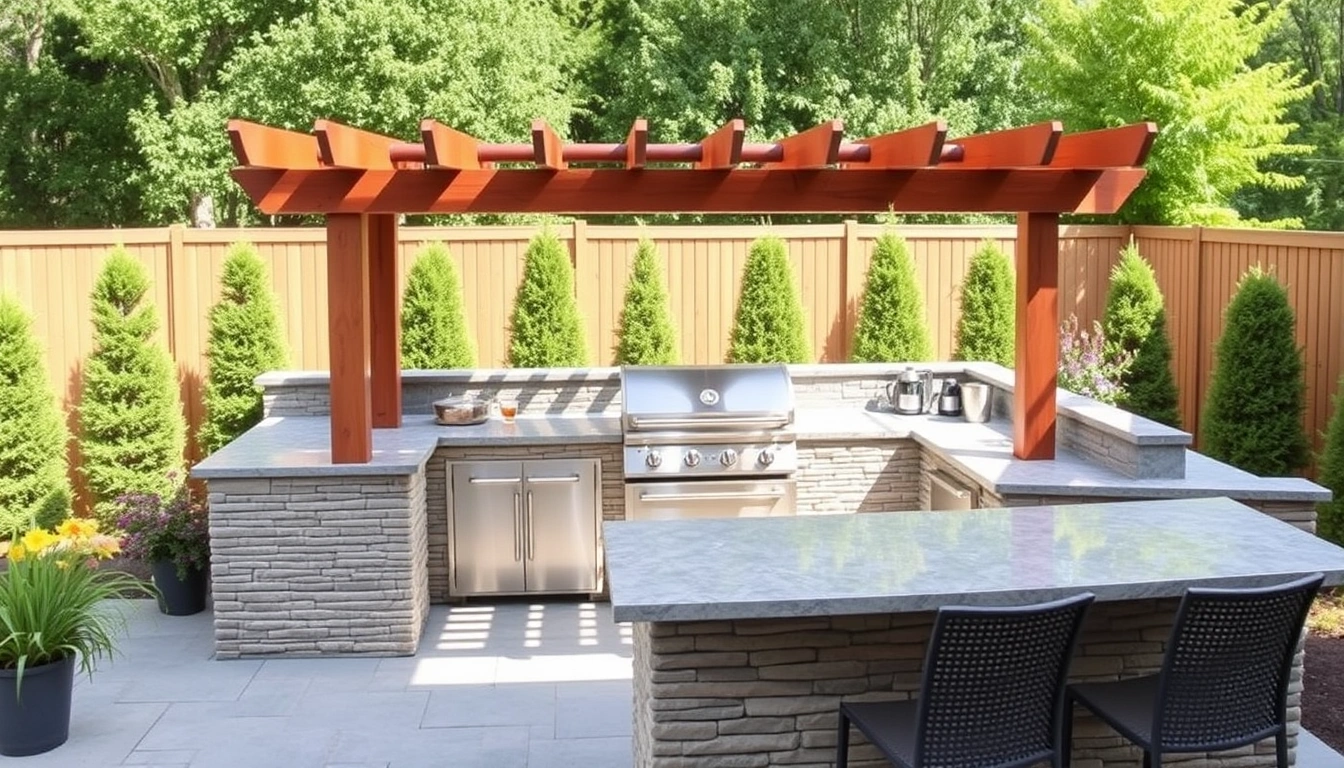
You plan it by mapping the site first, then fitting the appliances to the way you cook, not the way a catalog pictures a patio. I would use a 1/4-inch scale sketch or a digital drawing and build the plan in this order.
- Measure the usable footprint. Measure length and width in feet, then mark fixed obstacles like doors, posts, windows, hose bibs, AC units, and tree roots. The true clear area matters, not just the fence line. If a door swing, step-down, or path crosses the zone, that is a layout problem.
- Mark the circulation paths first. Leave at least 36 inches for a single-person aisle and 42 to 48 inches where two people may pass or stand together. A chair pulled back or a grill lid opened should not choke the route. If the aisle shrinks below 30 inches, the plan will feel cramped even if the counters look generous.
- Place the grill and identify heat clearance. Put the grill where smoke will drift away from seating, siding, and doors, and confirm the manufacturer’s side and rear clearances from the installation guide. Verify that the hood can open fully and that a cook can stand in front of it without turning sideways. If the grill sits under a low overhang or near a combustible wall, that is a red flag.
- Lay out the prep zone beside the grill. Reserve at least 24 inches of uninterrupted counter on one side of the grill and, ideally, 24 inches on the other side as landing space. A cutting board should sit flat, and hot pans need a place to land. If you need to stack ingredients on the floor, the prep zone is too small.
- Position the sink and cold storage within one step of prep. Place the sink and refrigerator so you can move between them without crossing the hot zone, and allow the fridge door to open fully, usually about 90 degrees or more depending on model. Verify that water supply, drain slope, and power access are possible in that location. If plumbing or power would need long exposed runs across the patio, rethink the placement.
- Add storage where the work happens. Put plates, tools, fuel, and cleaning supplies in cabinets or drawers near the grill and sink. The most-used items should be reachable without kneeling or walking. If storage is only decorative, you will end up carrying everything back inside.
- Check wind, sun, and shade. Note the direction of prevailing wind, the afternoon sun, and any low branches or roof edges. Smoke should not blow into the seating area, and the cook should not be staring into the sun at 5 p.m. If the cook zone will be unusable in direct summer heat, plan for shade before you finalize anything.
- Test the plan at full size. Use painter’s tape, garden hose, or chalk to outline the counters and appliances on the ground. Walk the route, open imaginary doors, and stand where the cook would stand. Verify that two people can function without bumping elbows. If the taped plan feels clumsy, the built version will too.
The big mistake here is designing from a shopping list instead of from task order. I would ask where food enters, where it is washed or unwrapped, where it is cooked, where it lands, and where dirty items go. If those steps are not obvious on the plan, the layout is incomplete. One glance should tell the story.
What size patio do you need for an outdoor kitchen?
You need enough room for the kitchen, the cook, and the people around it, which usually means more space than the appliance footprint suggests. A compact outdoor kitchen can fit in roughly 6 by 8 feet if it is just a grill, a small counter, and storage. Once you add a sink, a fridge, and a true prep area, 8 by 10 feet is a more realistic minimum. For an L-shaped layout with seating nearby, I would rather see 10 by 12 feet or more.
Think in zones, not appliances. A grill alone may take a few feet of wall length, but the cook also needs landing space, utensil storage, and a path to the house or dining table. If you are planning an island, remember that the island needs clearance on every side, not just along the front. If one side faces a wall or railing, that edge still needs usable depth and a way to service equipment.
The shape of the yard matters as much as the size. A long, narrow patio tends to work better as a straight run: grill, prep, sink, then storage. A square or wide terrace can handle an L-shape, which separates heat from cleanup and leaves one arm open for serving. A U-shape is useful when several people cook together, but it demands more square footage and can trap traffic if the opening is too narrow. Tight corners eat space like a bad haircut.
I would avoid putting the whole kitchen flush against the seating edge unless the cook likes constant interruptions. A 3- to 4-foot buffer between the hot zone and seating area makes the space easier to use and safer around children and guests. That buffer can be a planter edge, an open aisle, or a serving ledge. Small gap. Big difference.
Where do utilities and materials change the layout?
Utilities should shape the layout, because water, gas, and electricity are not decorative afterthoughts. A sink needs supply and drain; a refrigerator needs a dedicated electrical circuit; a built-in grill may use natural gas or propane; and any hardwired lighting or outlets must follow code. I’m not giving installation instructions here, because those details depend on local rules and the equipment manual, but I am saying that a layout that ignores utilities is not a real layout. The U.S. Consumer Product Safety Commission and local code offices are useful references when you are checking safety and permit requirements.
Gas location is the biggest layout anchor for many backyards. A propane tank usually needs discreet but accessible storage, while a natural-gas line wants a planned route that avoids awkward crossings and pinch points. Electrical power matters too: a fridge or drawer cooler should not be placed where the cord or conduit has to snake across walkways. A good plan keeps service access reachable from the back or side, not sealed inside masonry where a repair means demolition.
Materials also affect spacing. Stone, masonry veneer, stainless steel, and marine-grade hardware are common choices because they tolerate outdoor exposure better than plain interior cabinetry. But even weather-resistant materials need drainage and ventilation. If cabinets sit directly on a wet slab without airflow, trapped moisture causes trouble. I would also be careful with wood near high heat and with dark stone in full sun, because both can make the cooking zone uncomfortable in summer. Heat wins that fight every time.
If you live where freezing happens, the layout should make winterizing practical. A sink line that is hard to drain or a refrigerator tucked where service access is blocked will become a problem the first cold snap. In a freeze-prone climate, I would keep shutoff valves and service panels easy to reach, even if that slightly compromises the cleanest visual line.
What are the most common outdoor kitchen layout mistakes?
The most common mistake is making the grill the center of the plan and forgetting the rest of the job. That leaves no real prep room, so food ends up on side tables or the patio wall. The fix is to give prep equal status with cooking, not treat it as leftover space.
Another mistake is building too narrow an aisle. A 30-inch gap may seem fine on paper, but it feels tight when one person carries a tray and another opens a fridge door. The consequence is constant sidestepping and spill risk. The better choice is 36 inches minimum, with 42 inches if your budget and footprint allow. No magic there.
A third error is putting the fridge too far from the prep zone. That means extra walking for ingredients and drinks, which sounds minor until you repeat it twenty times during one meal. Keep cold storage within one or two steps of the work area.
A fourth mistake is ignoring wind. If smoke blows toward the dining table or a neighbor’s fence, the kitchen becomes annoying instead of useful. Rotate the grill, shift the layout, or relocate the seating rather than hoping the breeze will cooperate.
A fifth is overloading a small yard with too many appliances. A grill, sink, fridge, pizza oven, and warming drawer can fit in a large outdoor room; they do not belong in every backyard. The right alternative in a tight space is a simpler layout with one serious cooking appliance, prep, and storage. Less really is more here.
When should you stop and change the plan?
You should stop and change the plan when the layout forces workarounds, because those workarounds become permanent annoyances. Here are the clearest signals.
The main aisle is under 36 inches: that means two people will bump into each other and traffic will clog — widen the run or remove one component.
The grill sits within the manufacturer’s restricted clearances: that creates heat and fire risk — move the appliance or choose a different model that fits the space.
The fridge door blocks a path when open: that means serving and cleanup will collide — shift the fridge to a corner or change its swing direction if the model allows it.
The sink would require a long exposed drain or water run: that makes the plumbing awkward and harder to protect — relocate the sink closer to the house connection or drop the sink entirely.
The only way to fit everything is to shrink prep below 24 inches: that gives you a showpiece, not a usable kitchen — cut one appliance and keep the work surface.
Smoke would drift directly into seating or through an opening door: that turns the kitchen into a nuisance — rotate the grill, add distance, or move the cook zone.
A standard layout does not work well when the yard is split by level changes, when the patio is narrow, or when the homeowner wants full indoor-kitchen performance outdoors. Those cases need a simplified plan, not a forced one. Clean answer? No.
What makes a good outdoor kitchen layout feel finished?
A good layout feels finished when the cook can move through the whole meal without backtracking across the yard. The grill has landing space, the sink is near prep, the fridge is close but not in the way, the trash is hidden yet reachable, and the seating area is close enough to join the meal but far enough to stay out of the heat.
I would judge the plan by three questions: can one person cook without leaving the zone, can two people work without collision, and can a guest move through the space without interrupting the cook? If the answer is yes, you are close to a layout that works for daily use, not just for a photo. For more planning help, see backyard patio ideas, outdoor kitchen costs, and grill installation basics. For safety and code checks, consult the U.S. Consumer Product Safety Commission and the National Fire Protection Association.